This is a step by step guide on how to host a Notion website on AWS S3 with a custom domain and a GitHub Actions pipeline automation setup.
Step 0 - Prerequisites
Step 0 - Prerequisites
Enable Public Access on your desired pages through Notion's Share menu, and Allow Search Engines (optional).
Step 1 - Custom Domain
Step 1 - Custom Domain
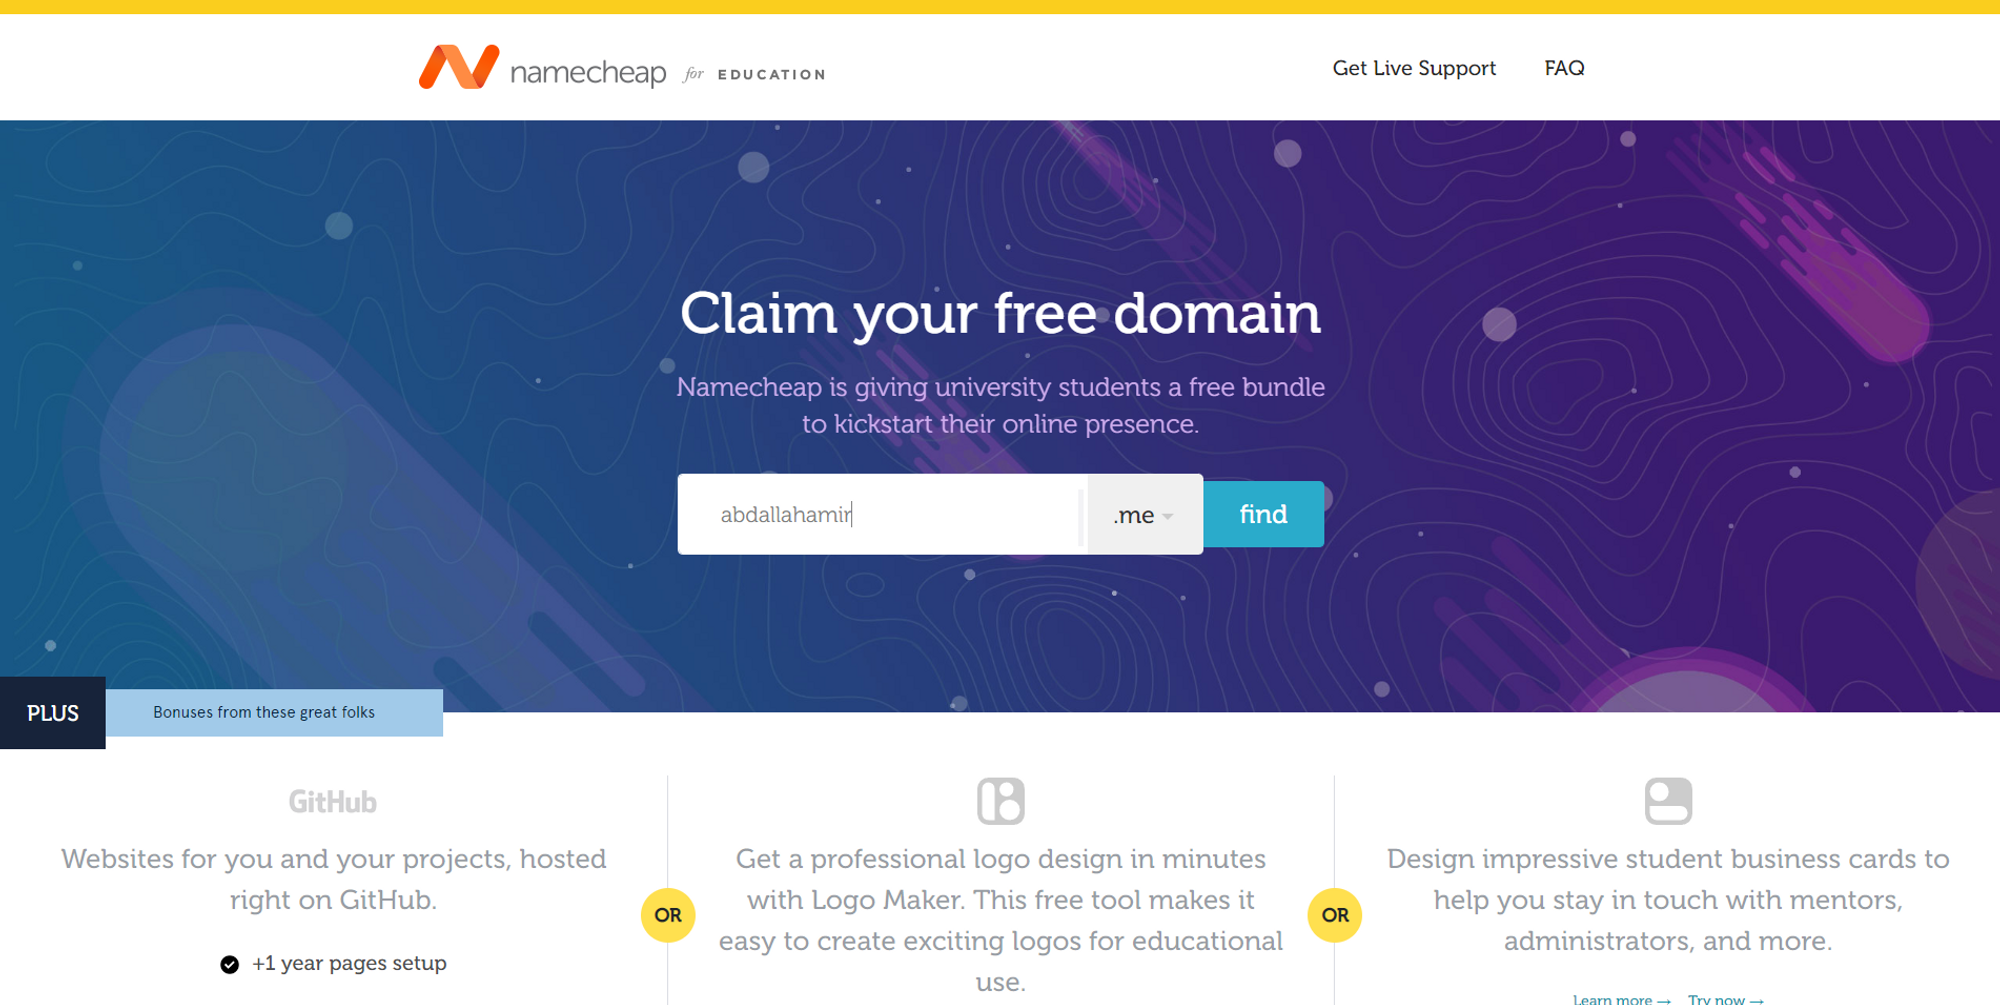
Firstly, you’re going to need a custom domain. GitHub Student Developer Pack offers a free “.me” domain from Namecheap for students currently enrolled in university or an academic program.
Enter your desired domain name and hit “find”.
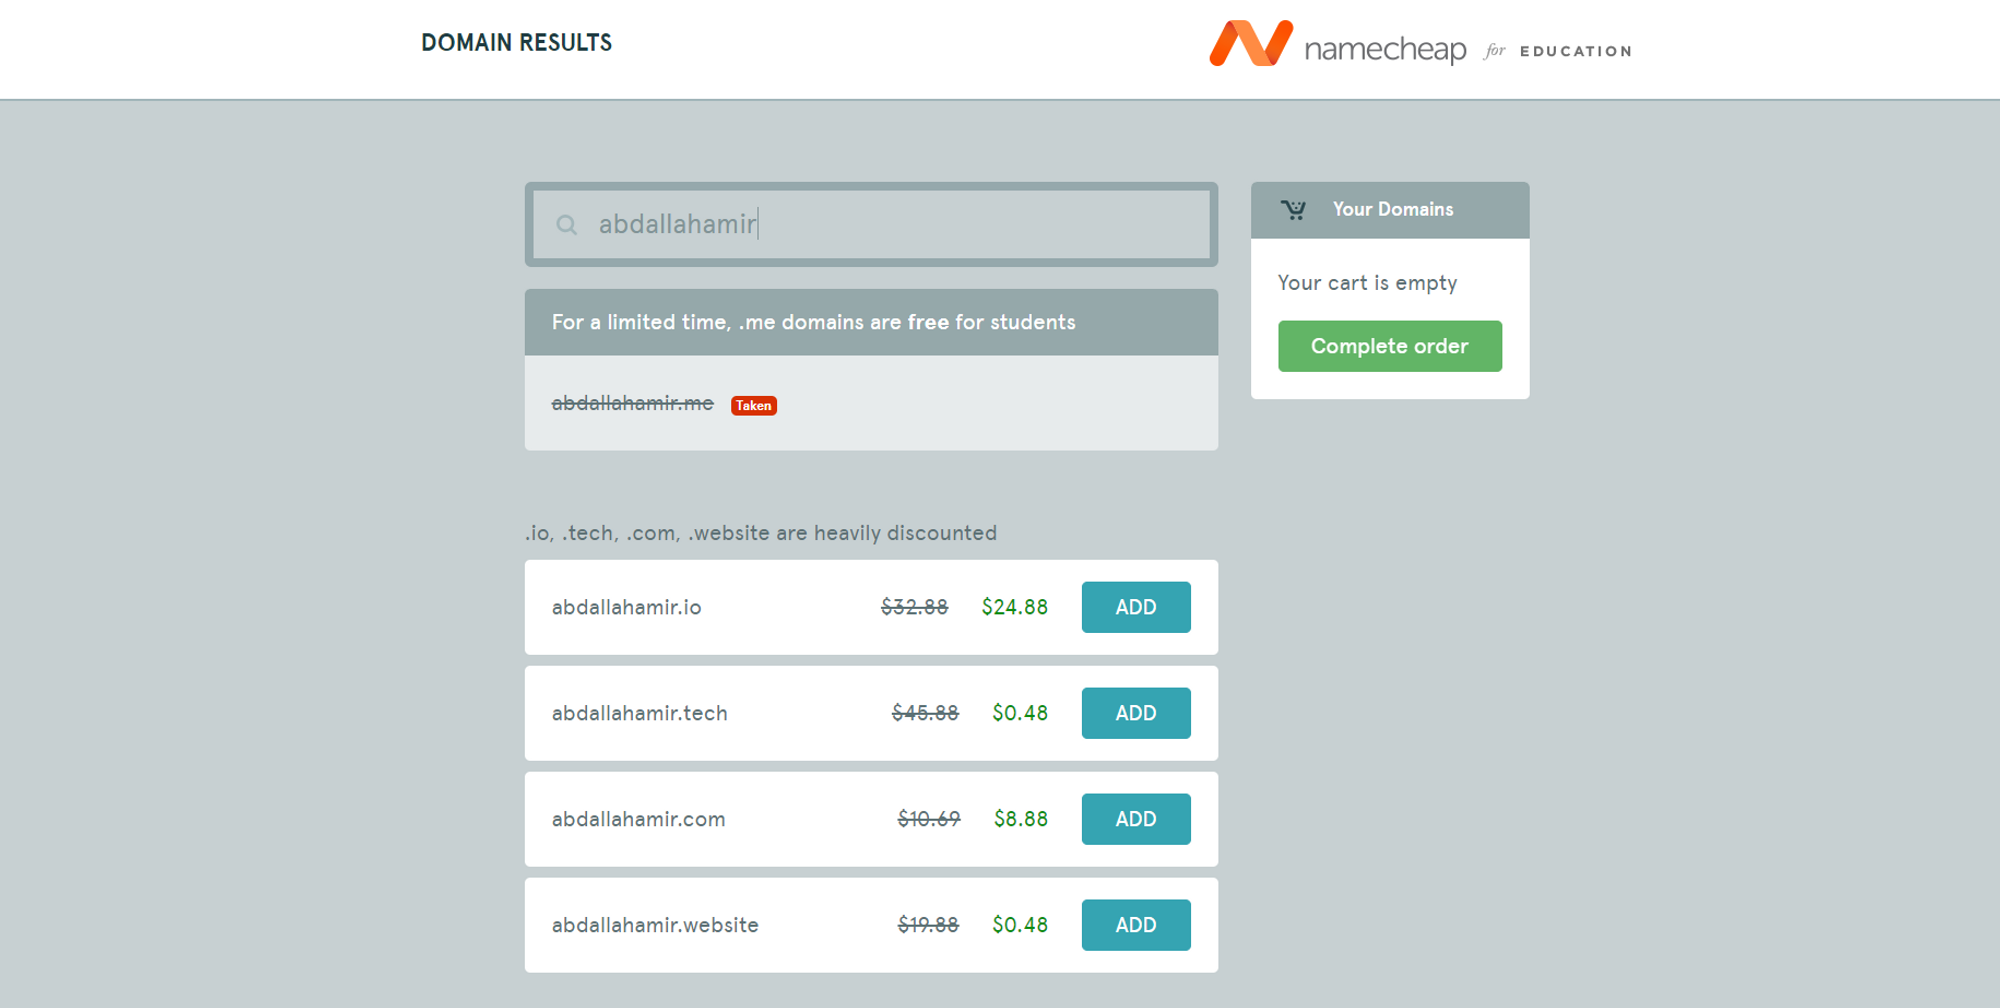
As you can see my domain is already taken (since I’m already using it, so I’ll be going with abdallahamir.website).
Namecheap also offers HUGE discounts for other domains for GitHub Student Developer Pack holders which can be useful to you later on.
Select your desired domain name and hit “Complete Order”.
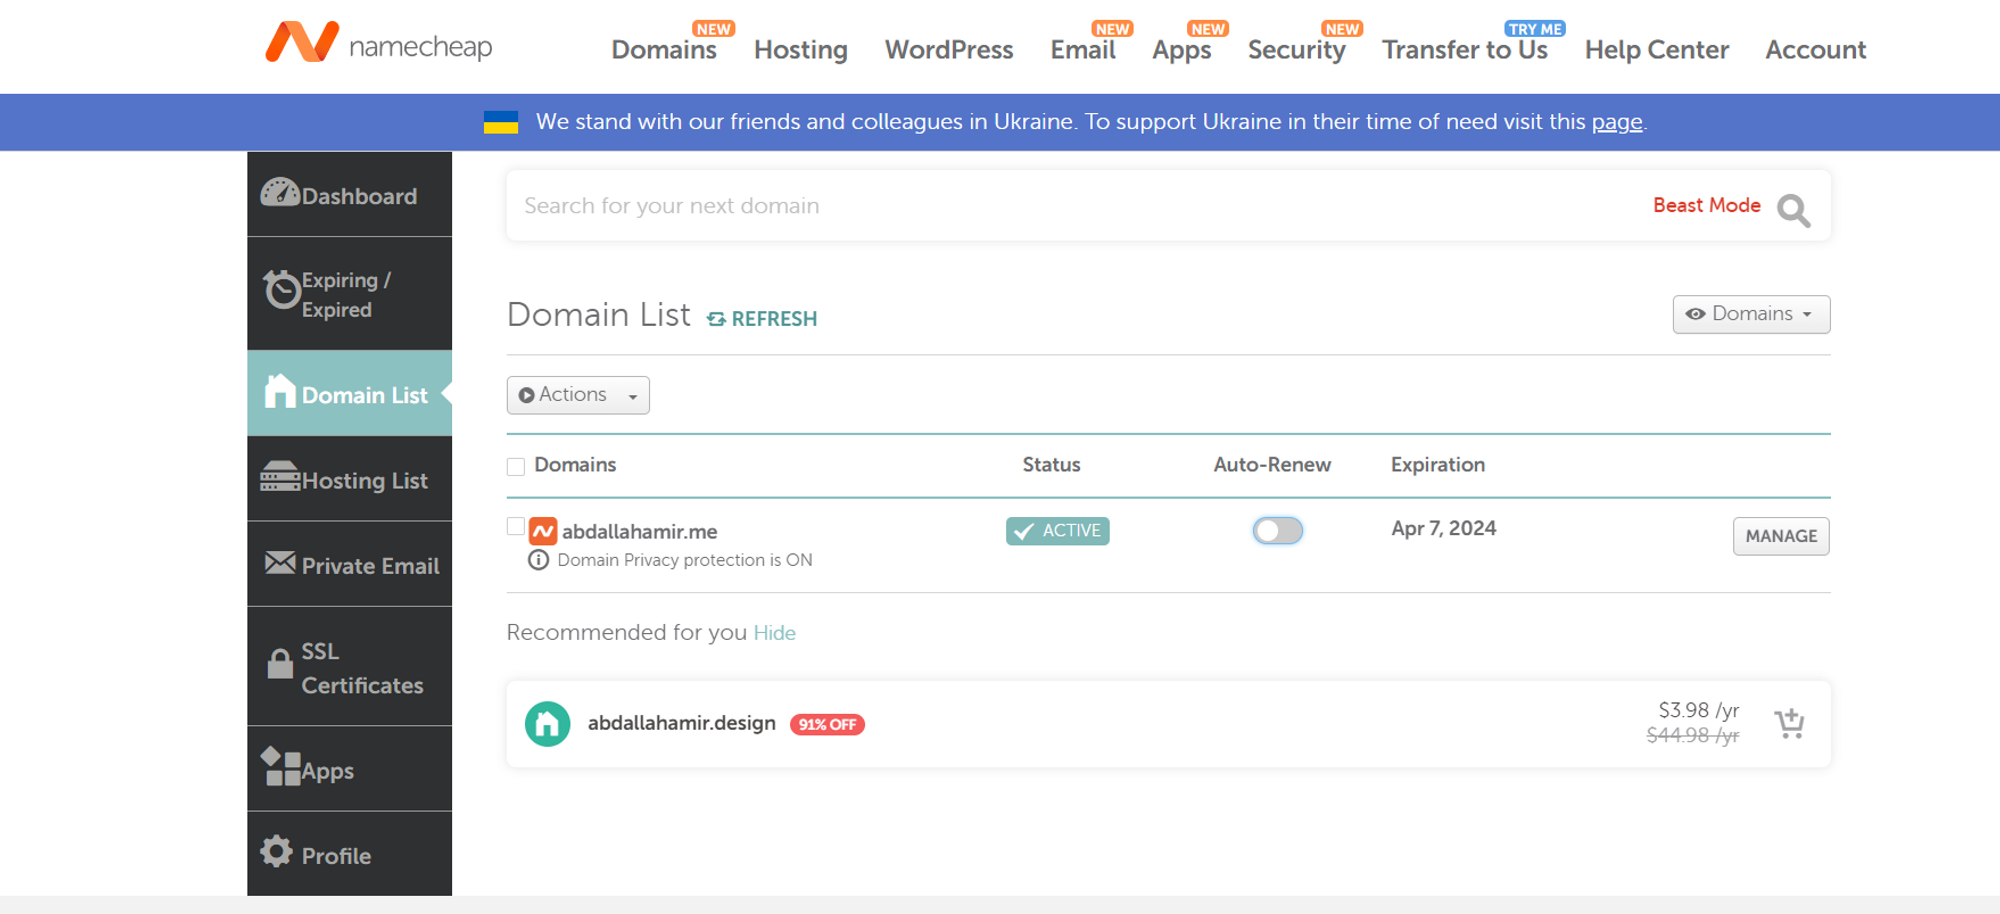
Follow along with the process until you reach this screen:
Step 2 - Set up your Cloudflare account
Step 2 - Set up your Cloudflare account
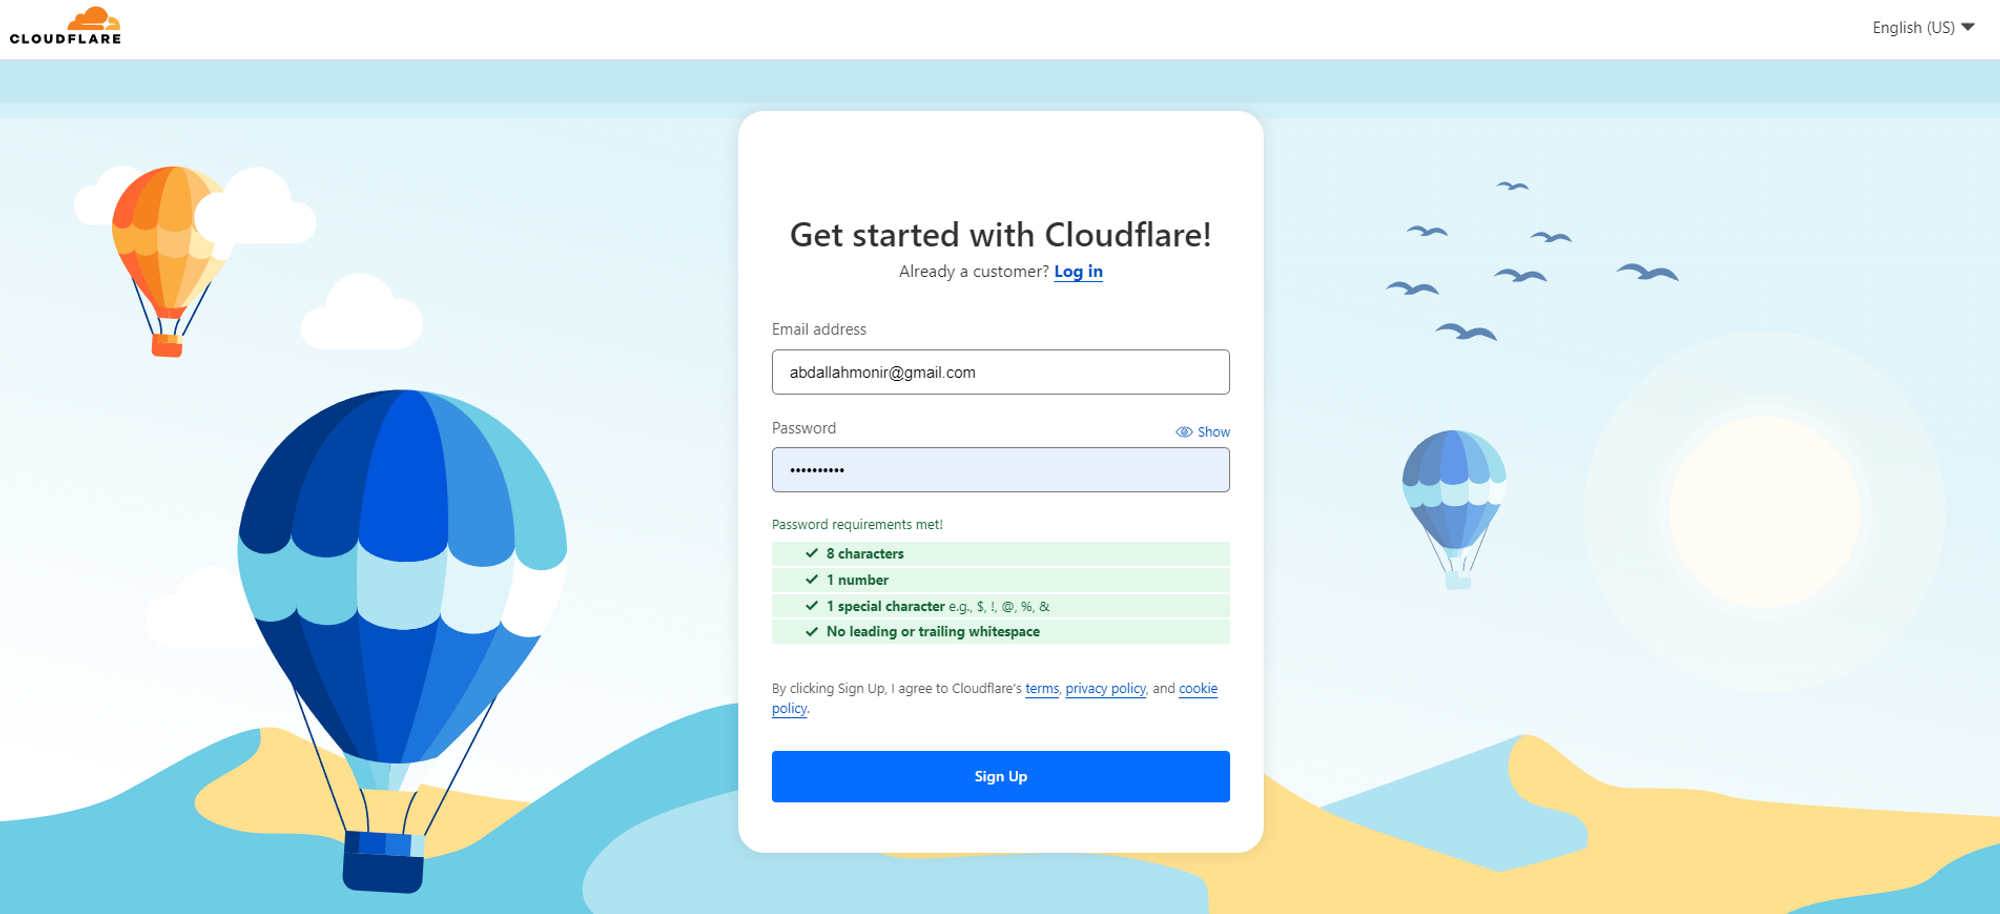
Sign up for an account: https://dash.cloudflare.com/sign-up
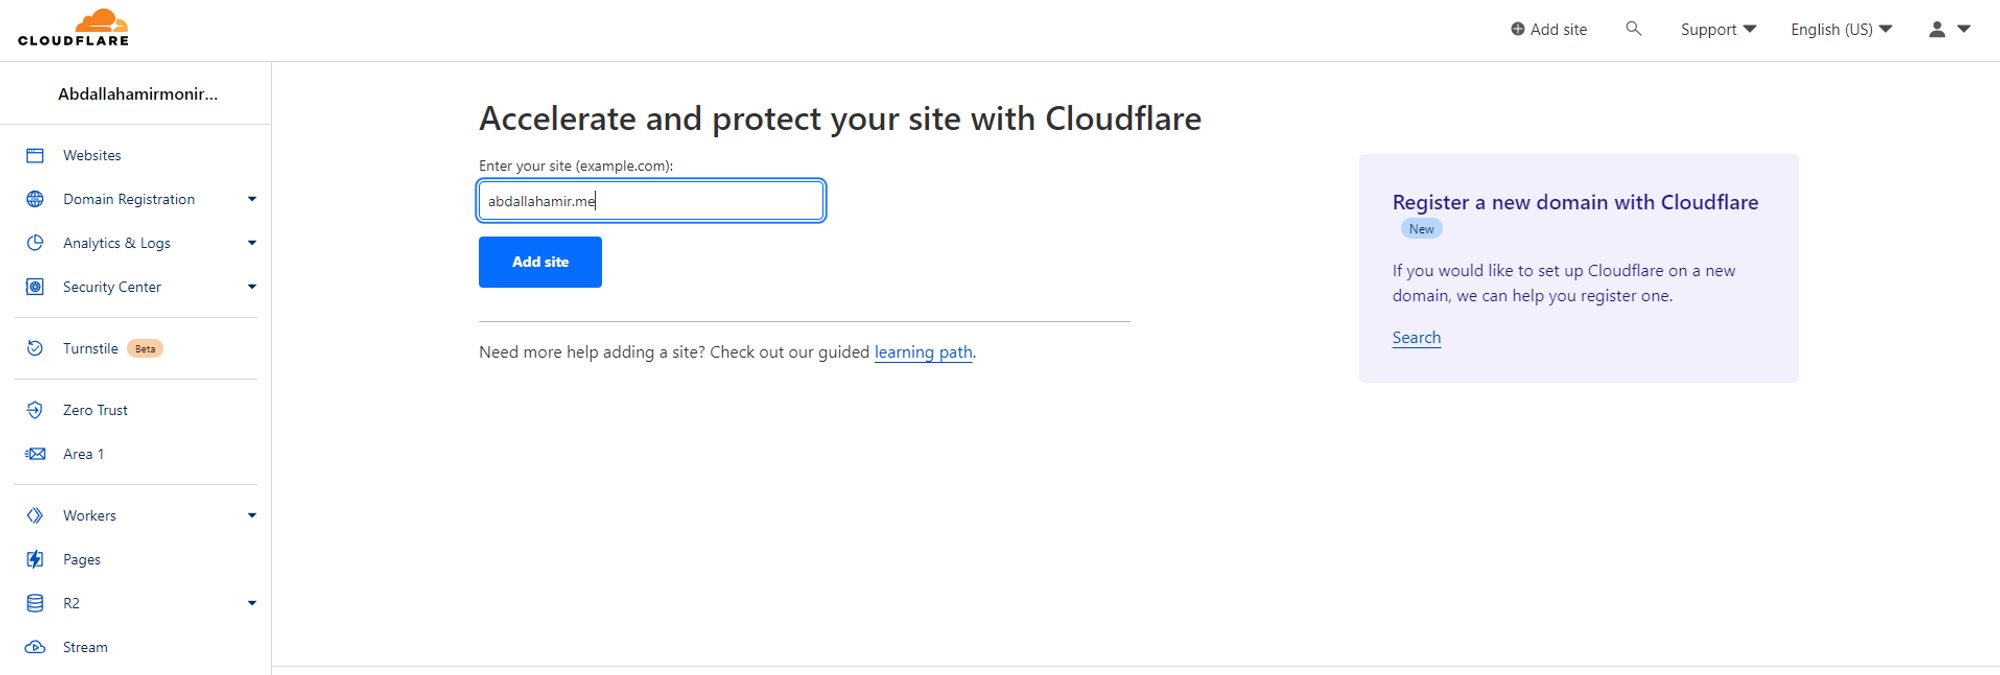
Enter your custom domain name. If you would like to use a subdomain, you should still enter your root domain name here.
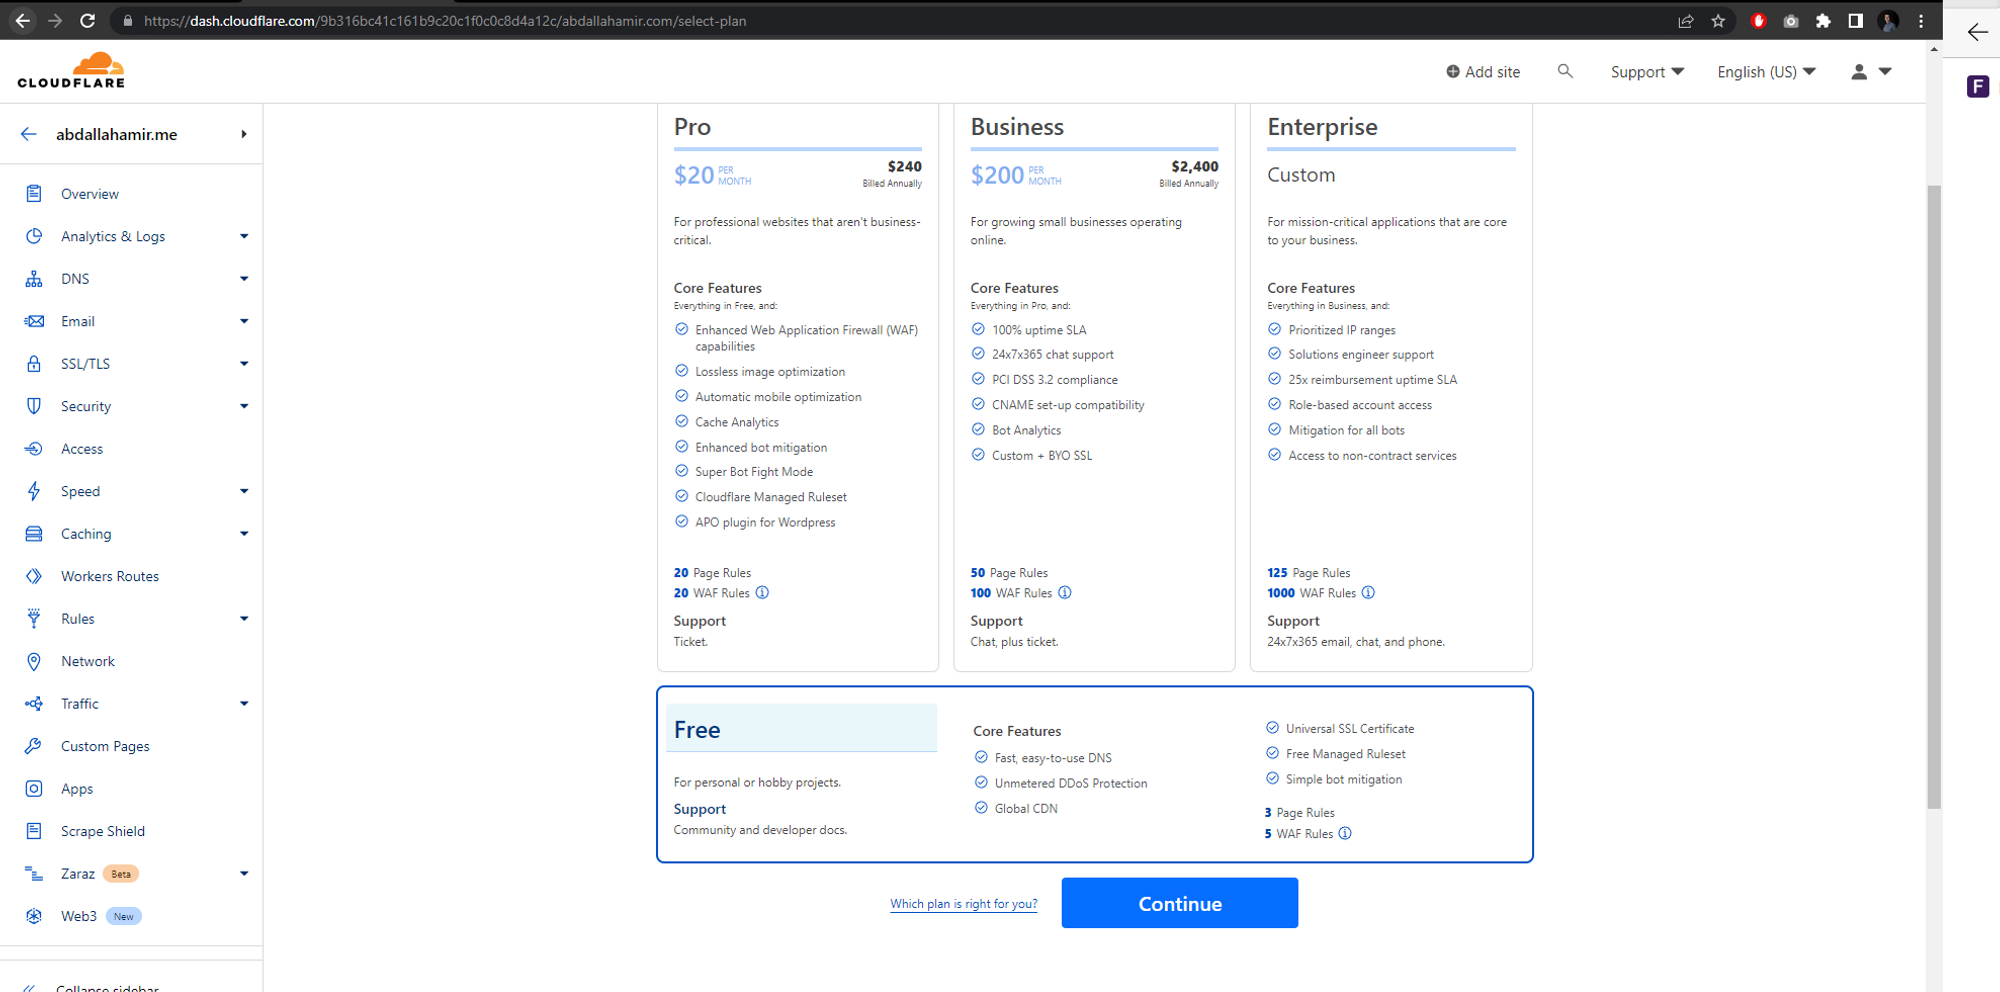
Select the Free plan
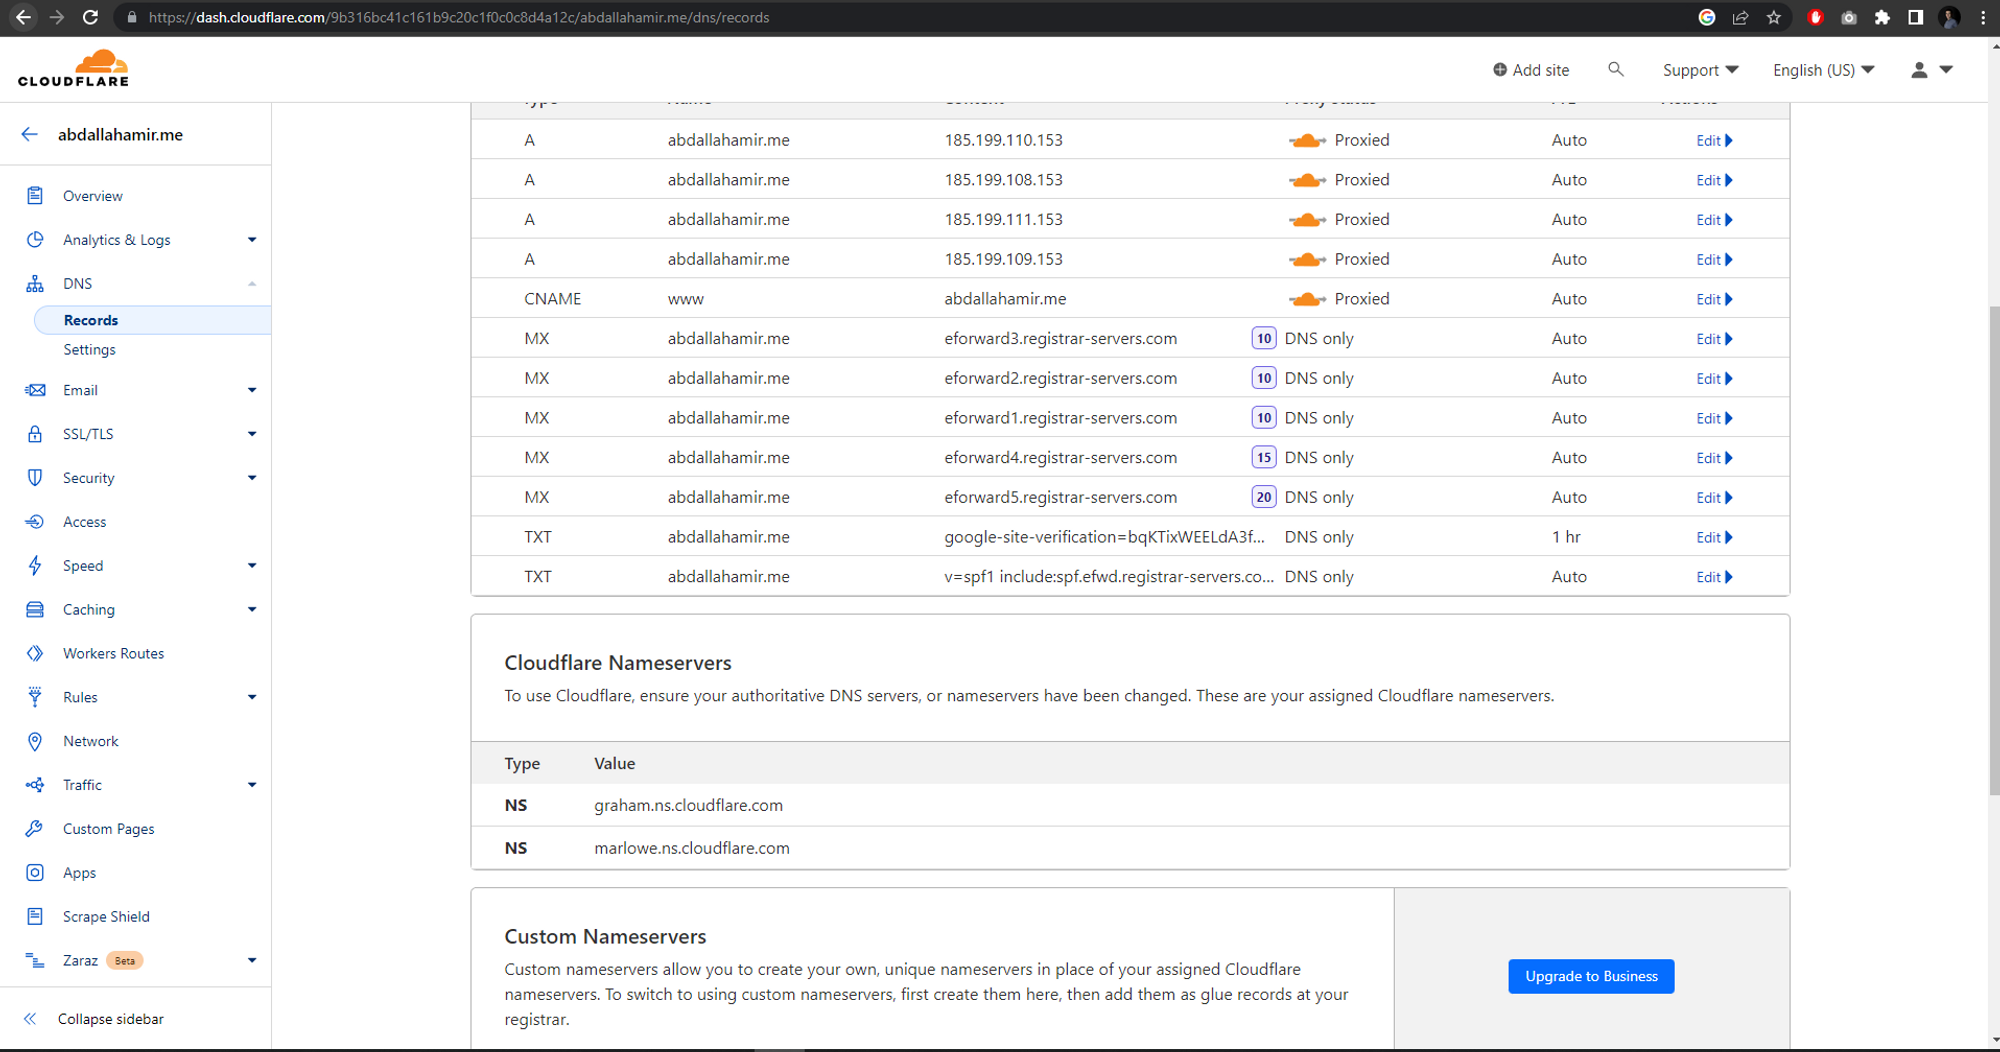
Copy the 2 nameservers, which end with .ns.cloudflare.com
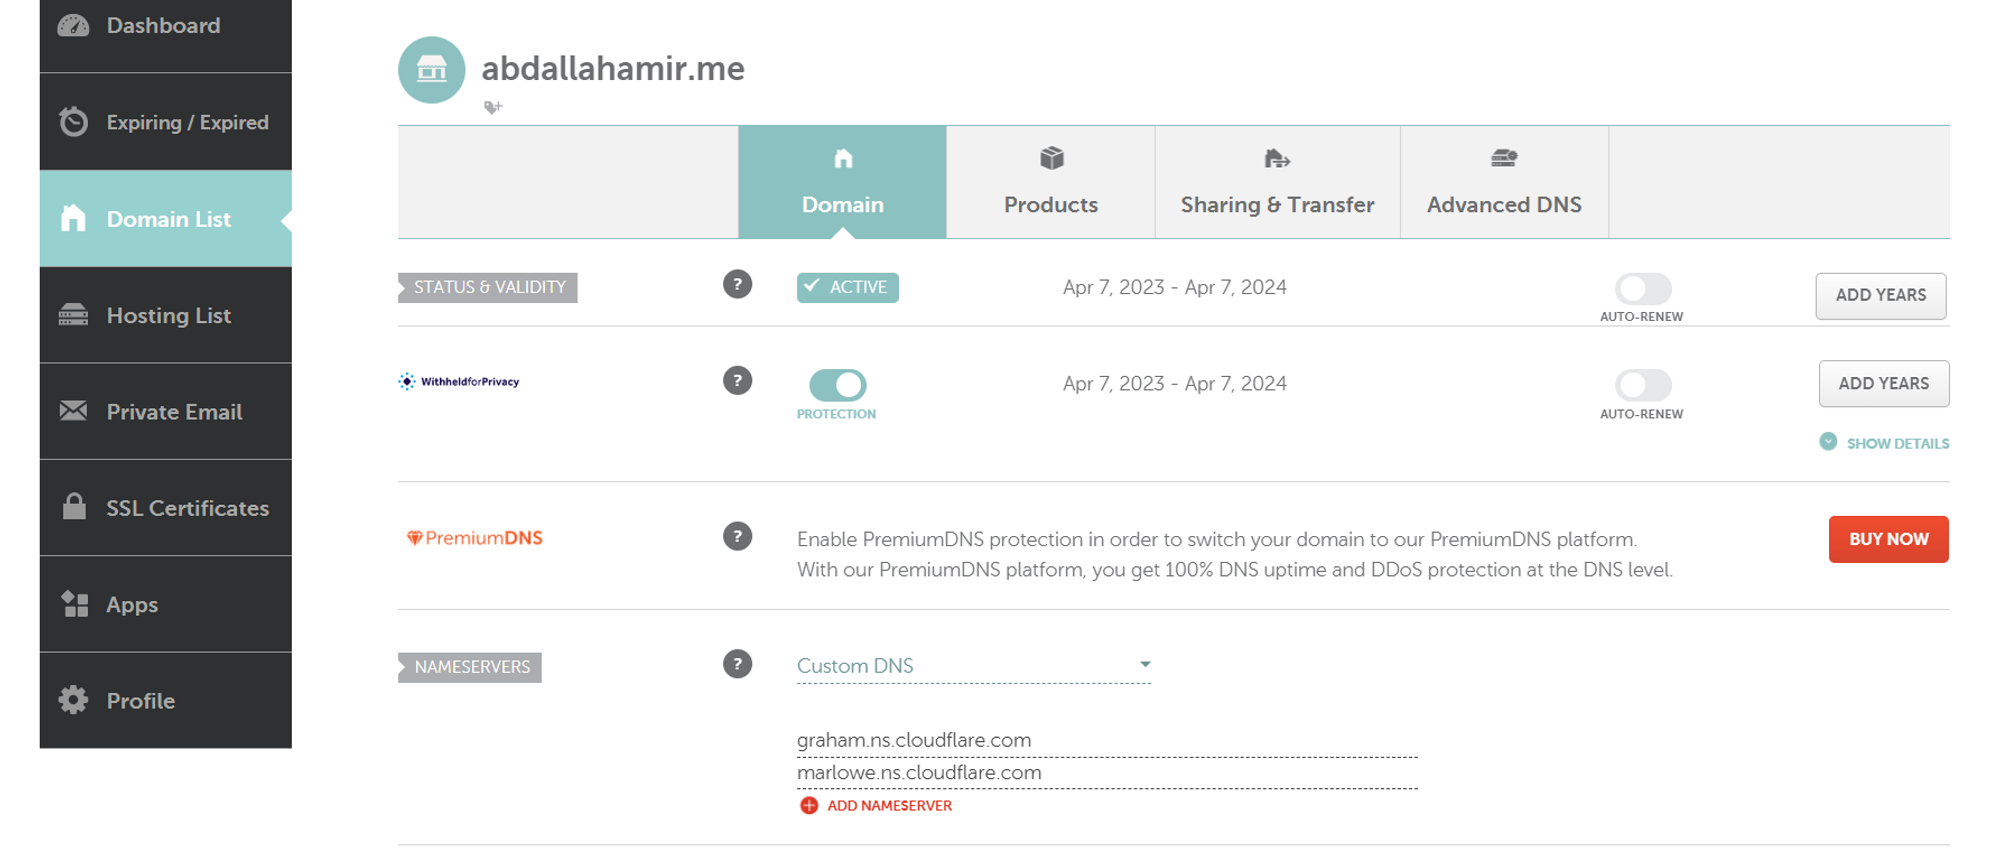
Paste the nameservers in the domain setting page at your registrar (Namecheap in my case). Make sure you save your settings.
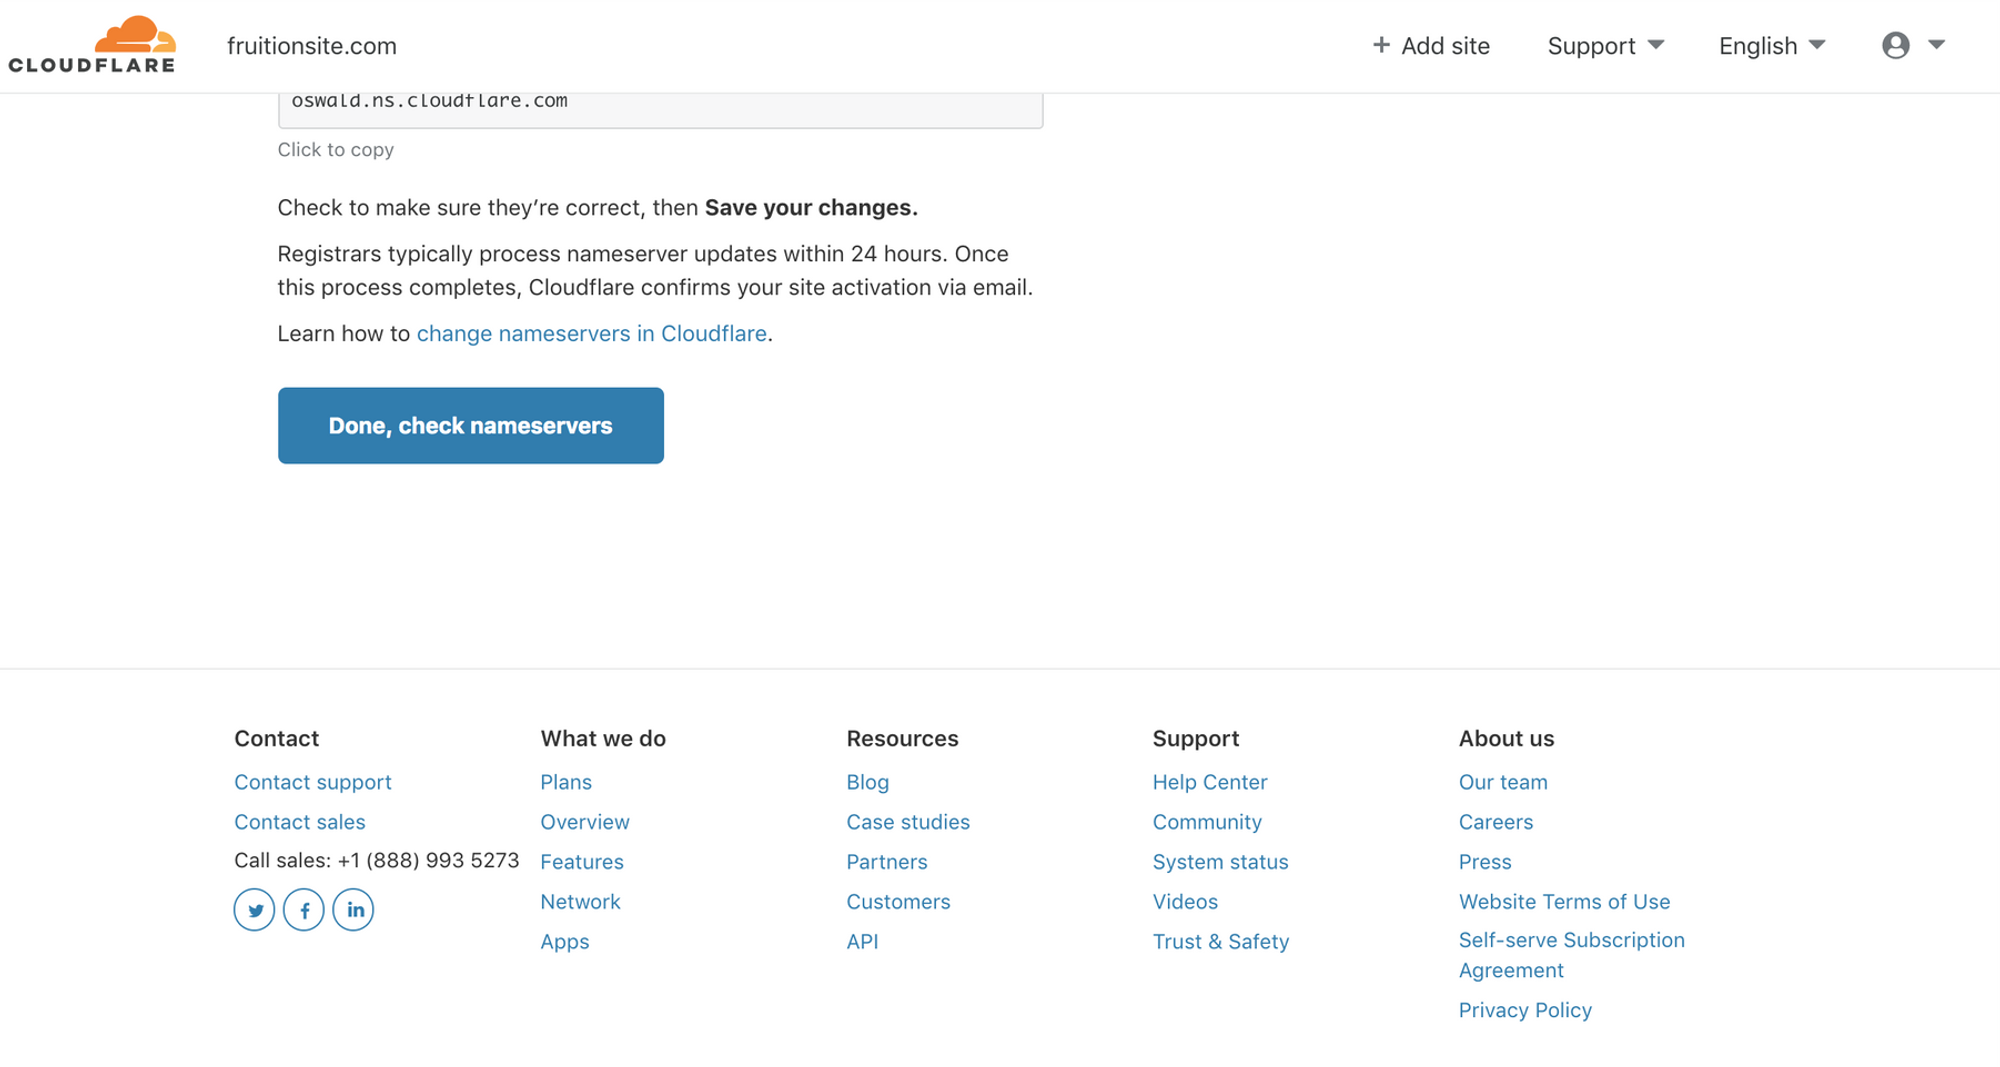
Wait for a minute, then click “Done, check nameservers”.
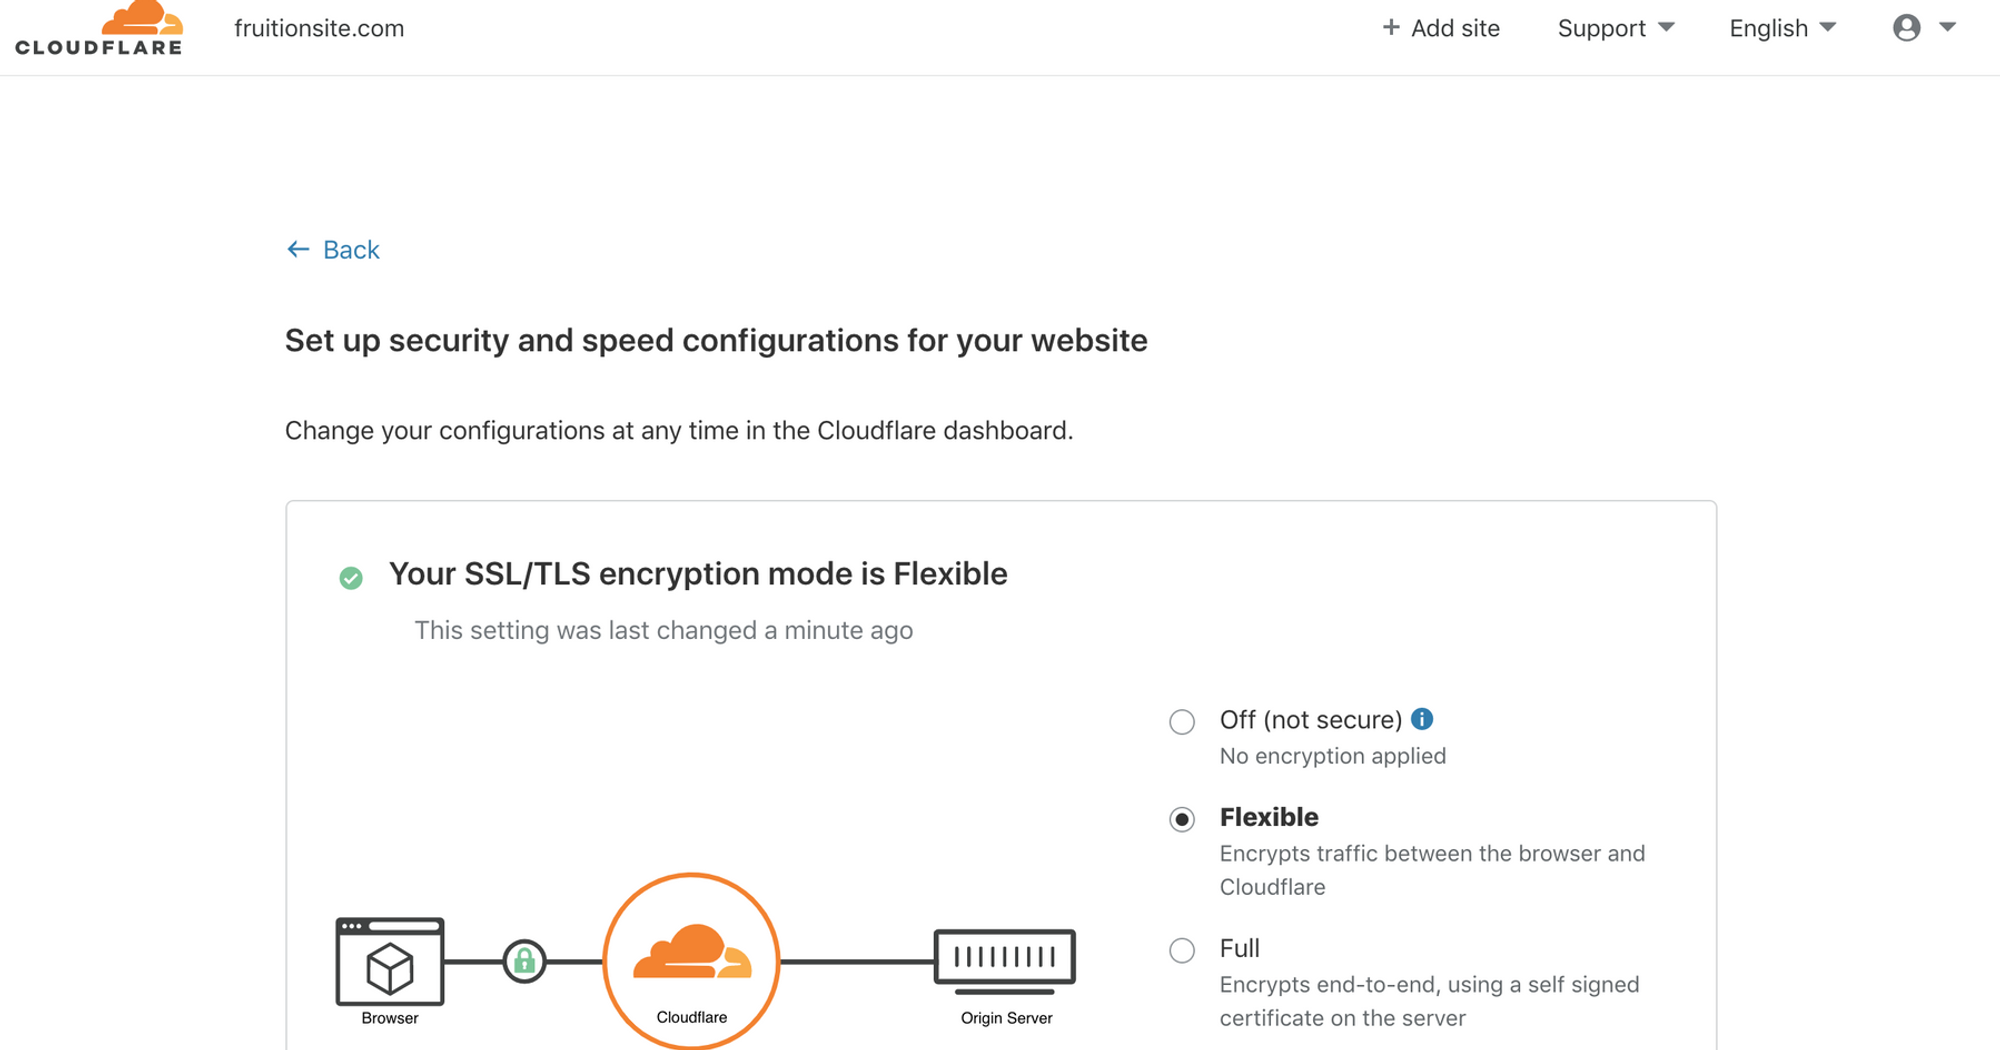
Select Flexible SSL/TLS encryption mode.
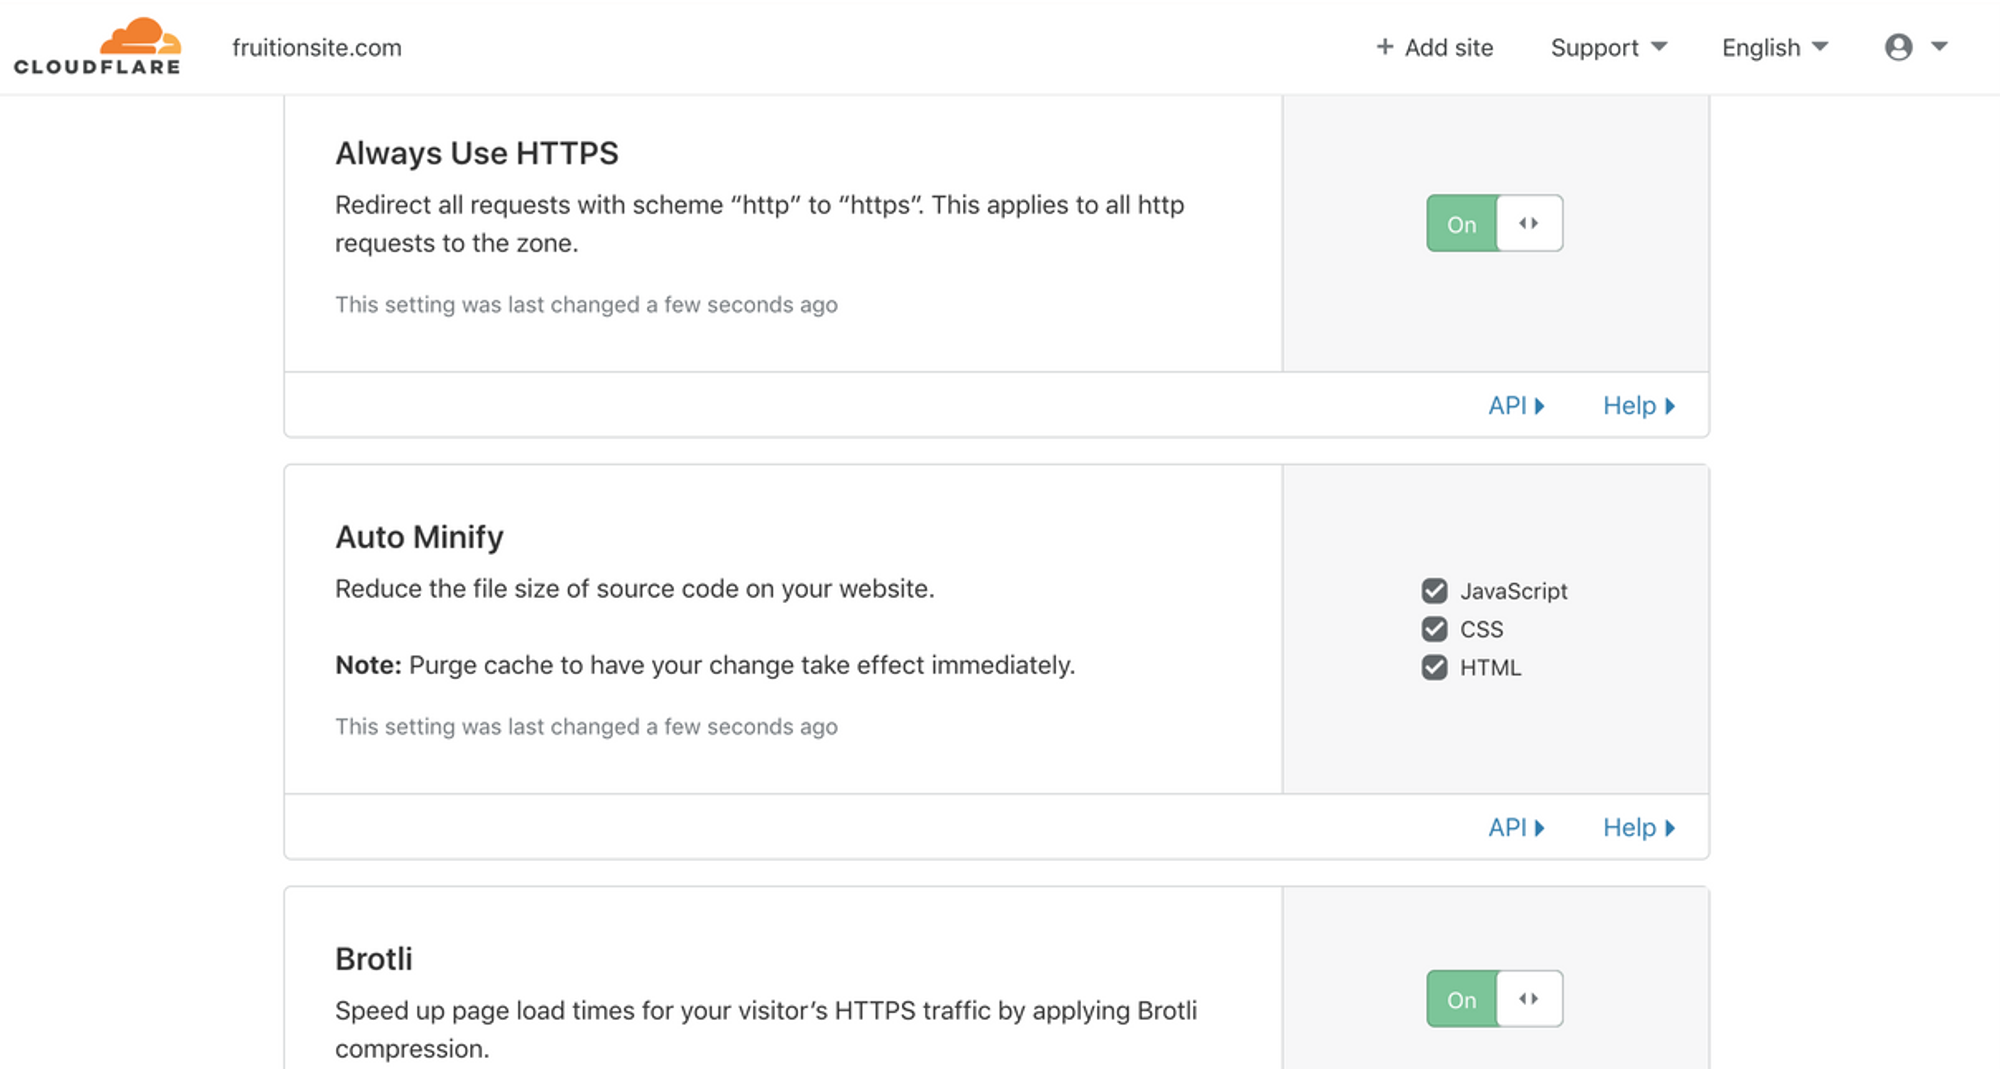
Turn on Always Use HTTPS, Auto Minify, and Brotli (all 3 optional but recommended)
Select Done
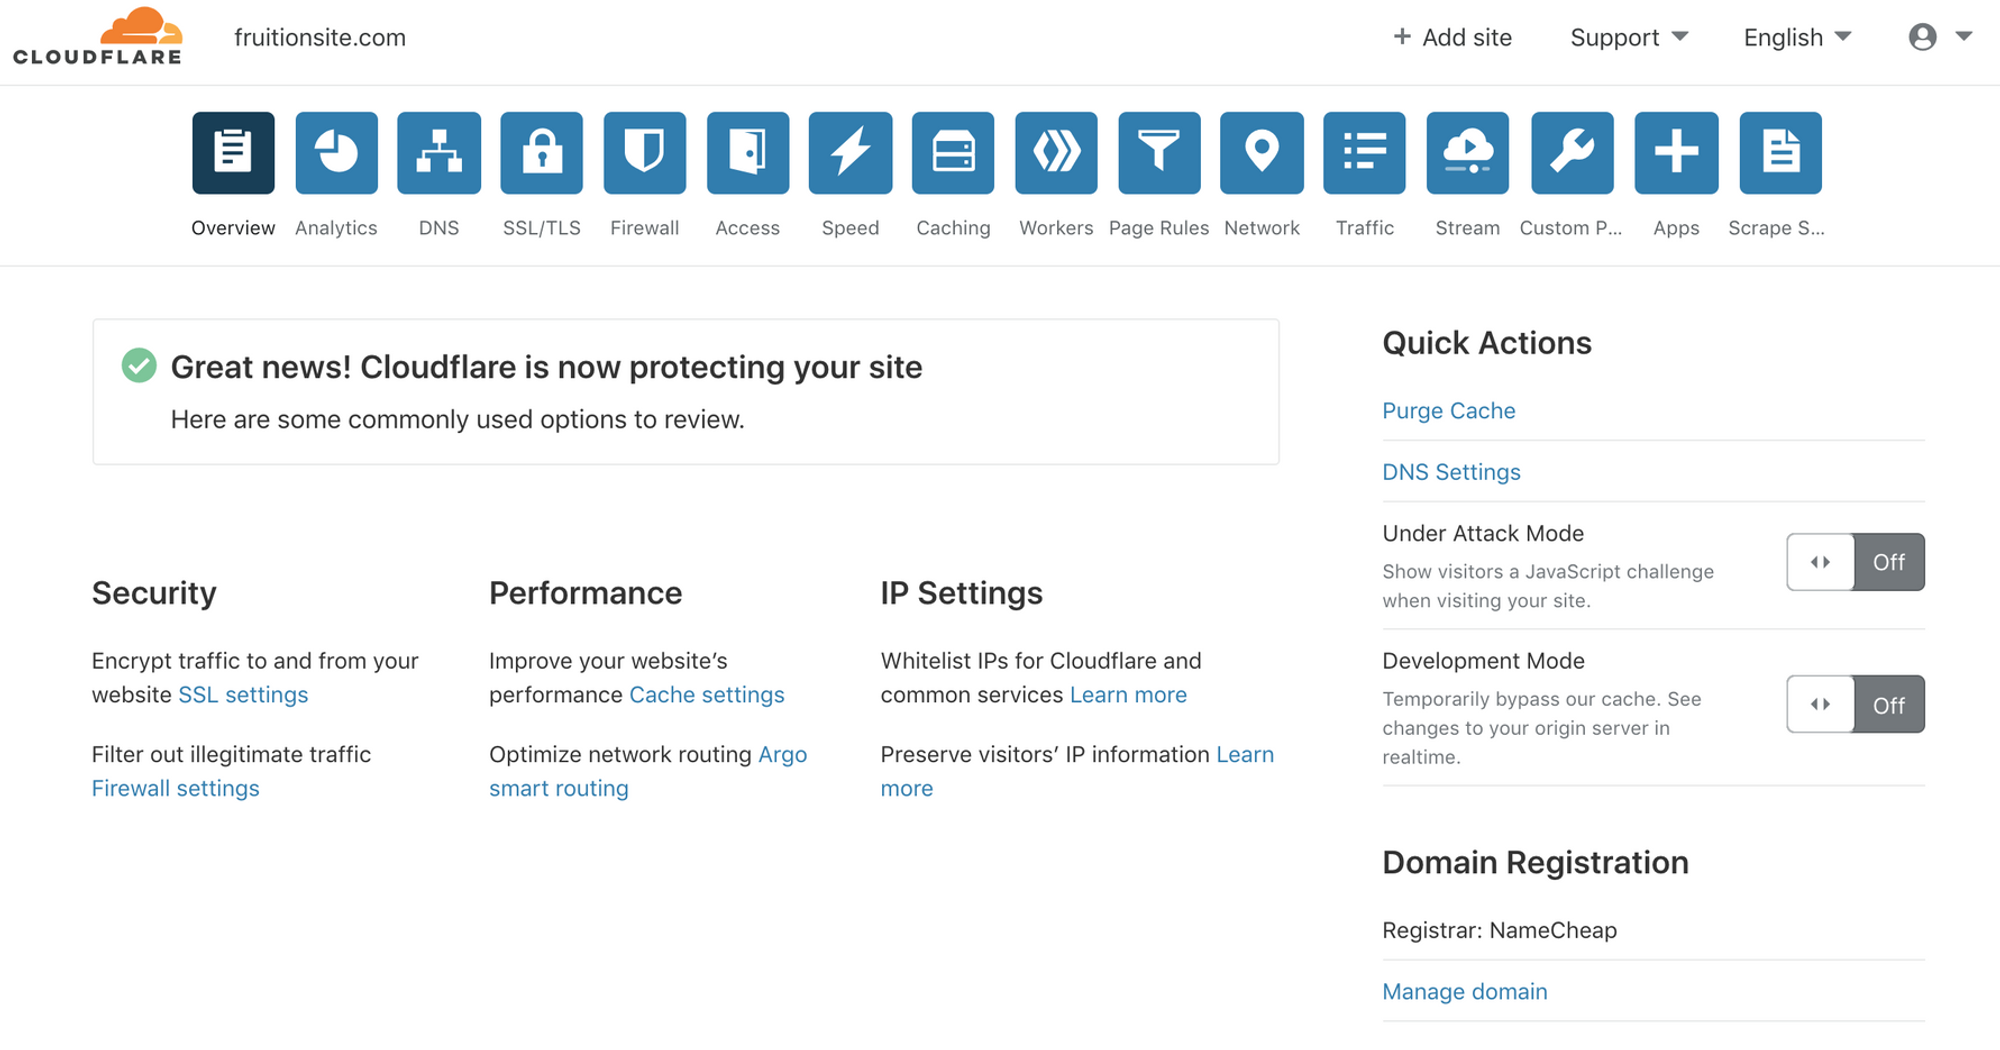
You should see this screen. If Cloudflare hasn't detected your site, click Re-check your site, and refresh the page.
Step 3 - Parse your website using Loconotion
Step 3 - Parse your website using Loconotion
Loconotion is a Python script that parses a Notion.so public page (alongside all of its subpages) and generates a lightweight, customizable static site.
Make sure to install Python and add it to PATH if you’re on windows. Then open cmd and paste the following:
Python
Copy
git clone https://github.com/leoncvlt/loconotion.git
cd loconotion
pip install -r requirements.txt
python loconotion <Notion Public URL>
You should find your website in the /dist folder located here:
C:\Users\[YOUR-USERNAME]\loconotion\dist .
Step 4 - Setting up your AWS S3 bucket
Step 4 - Setting up your AWS S3 bucket
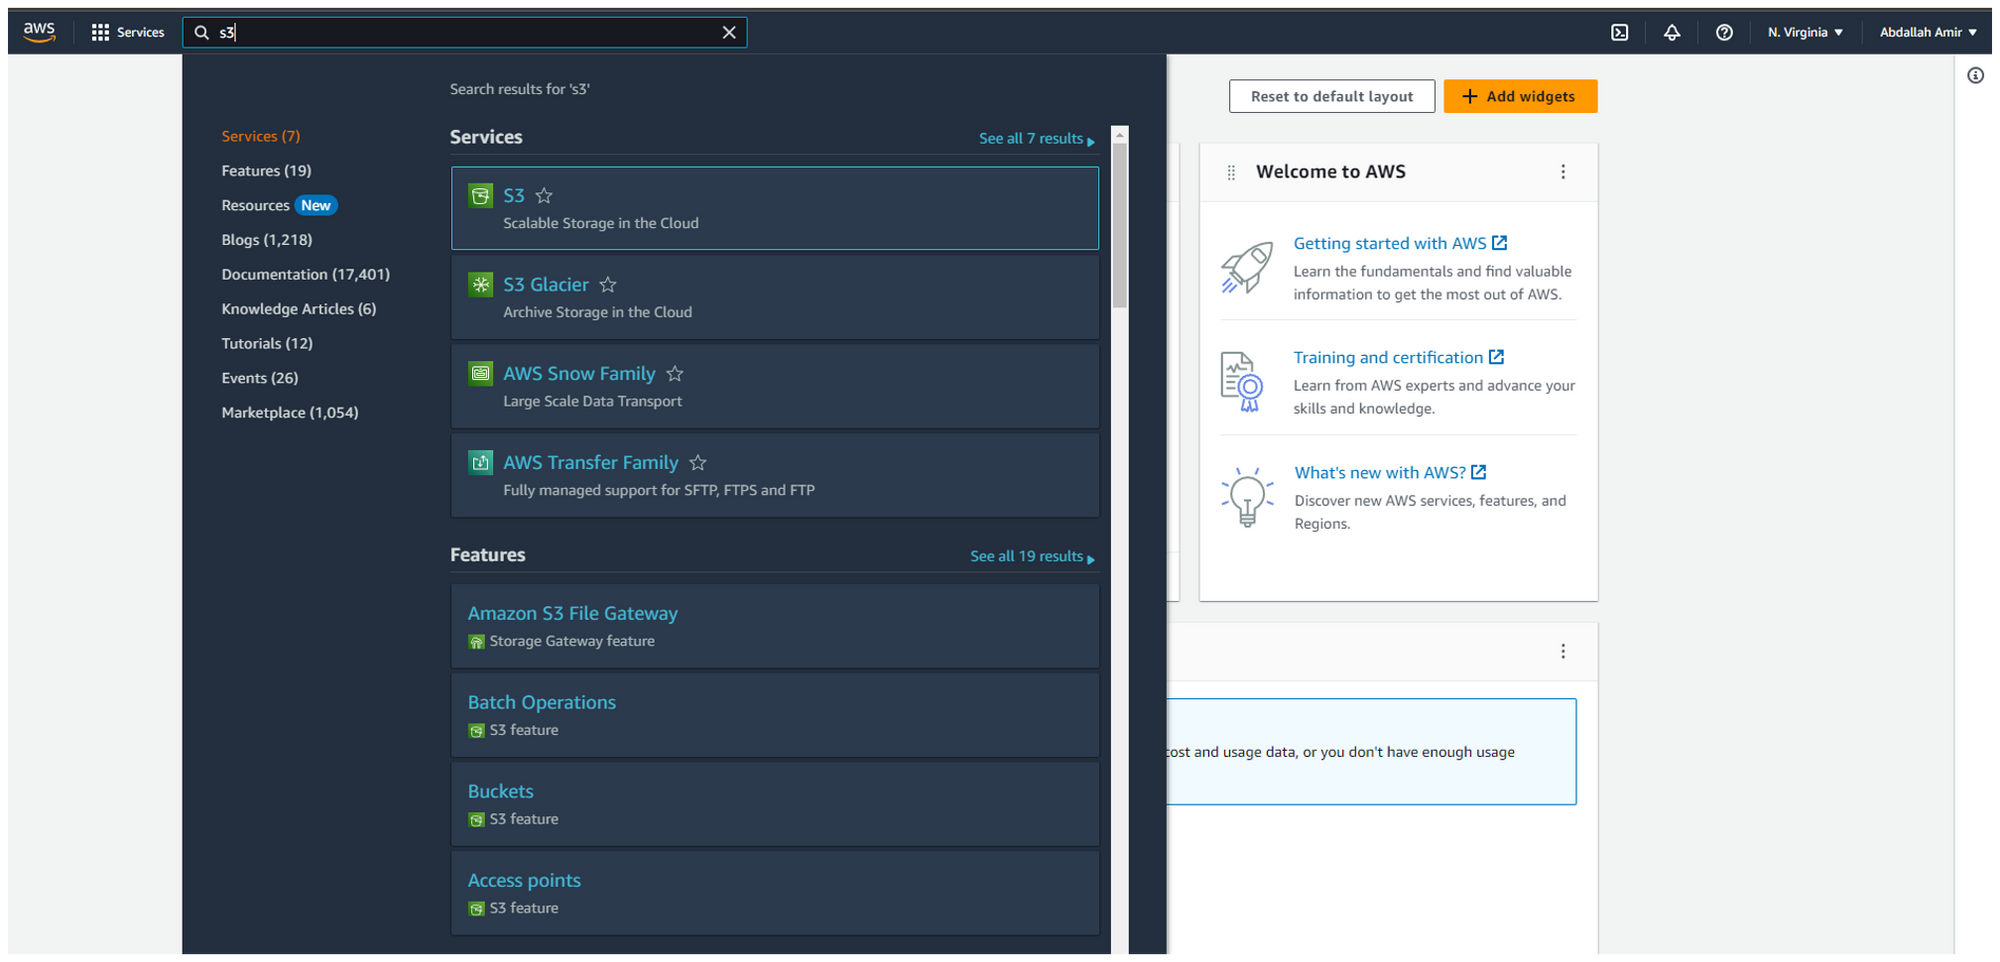
In Management Console, search for S3
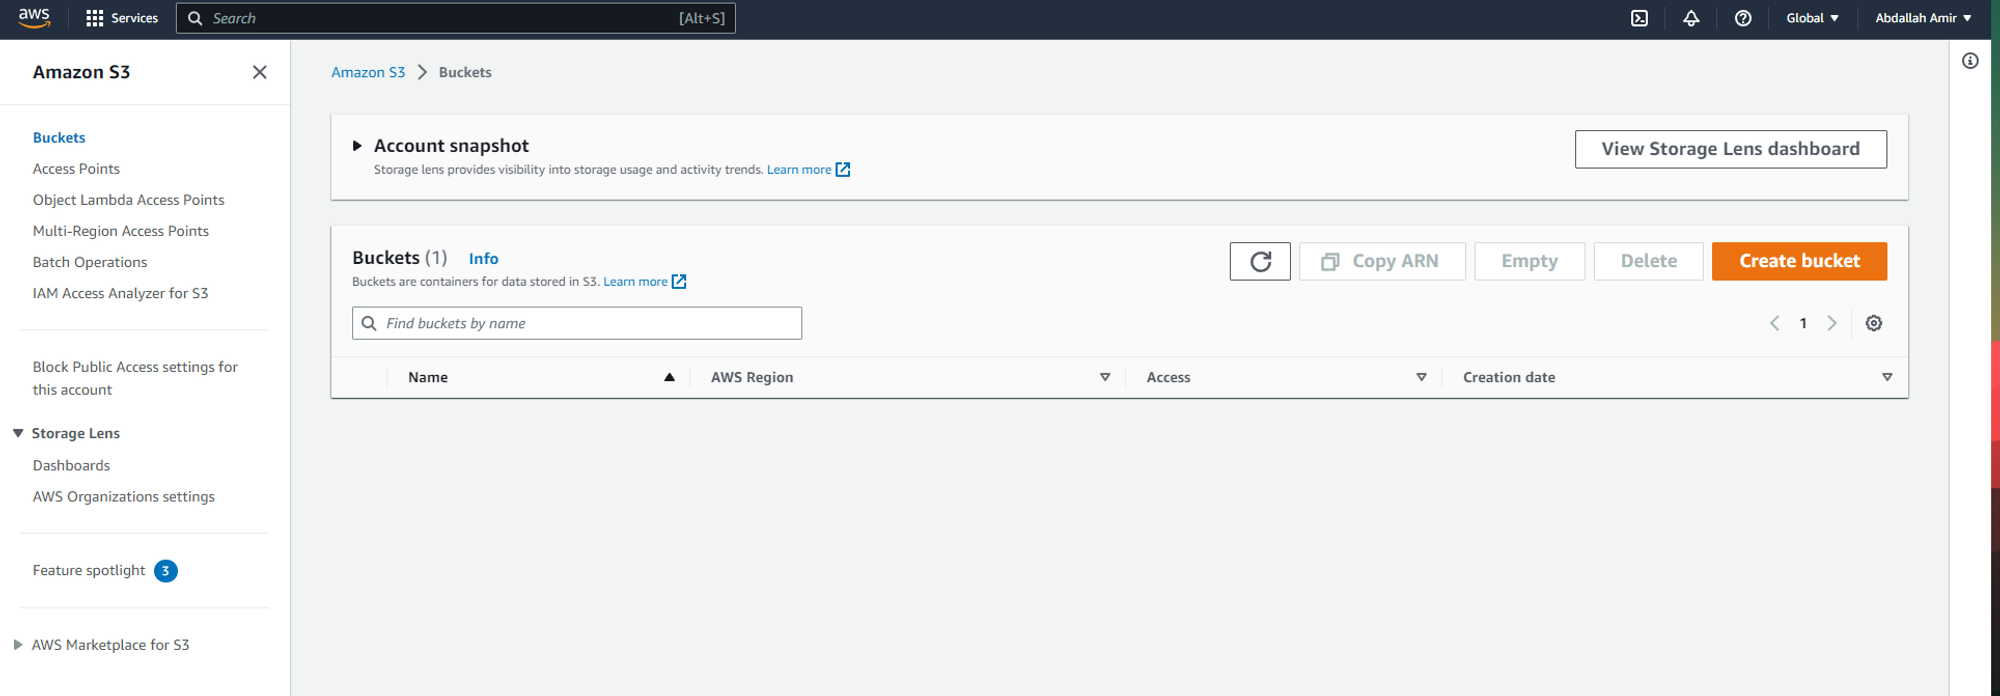
Click “Create Bucket”
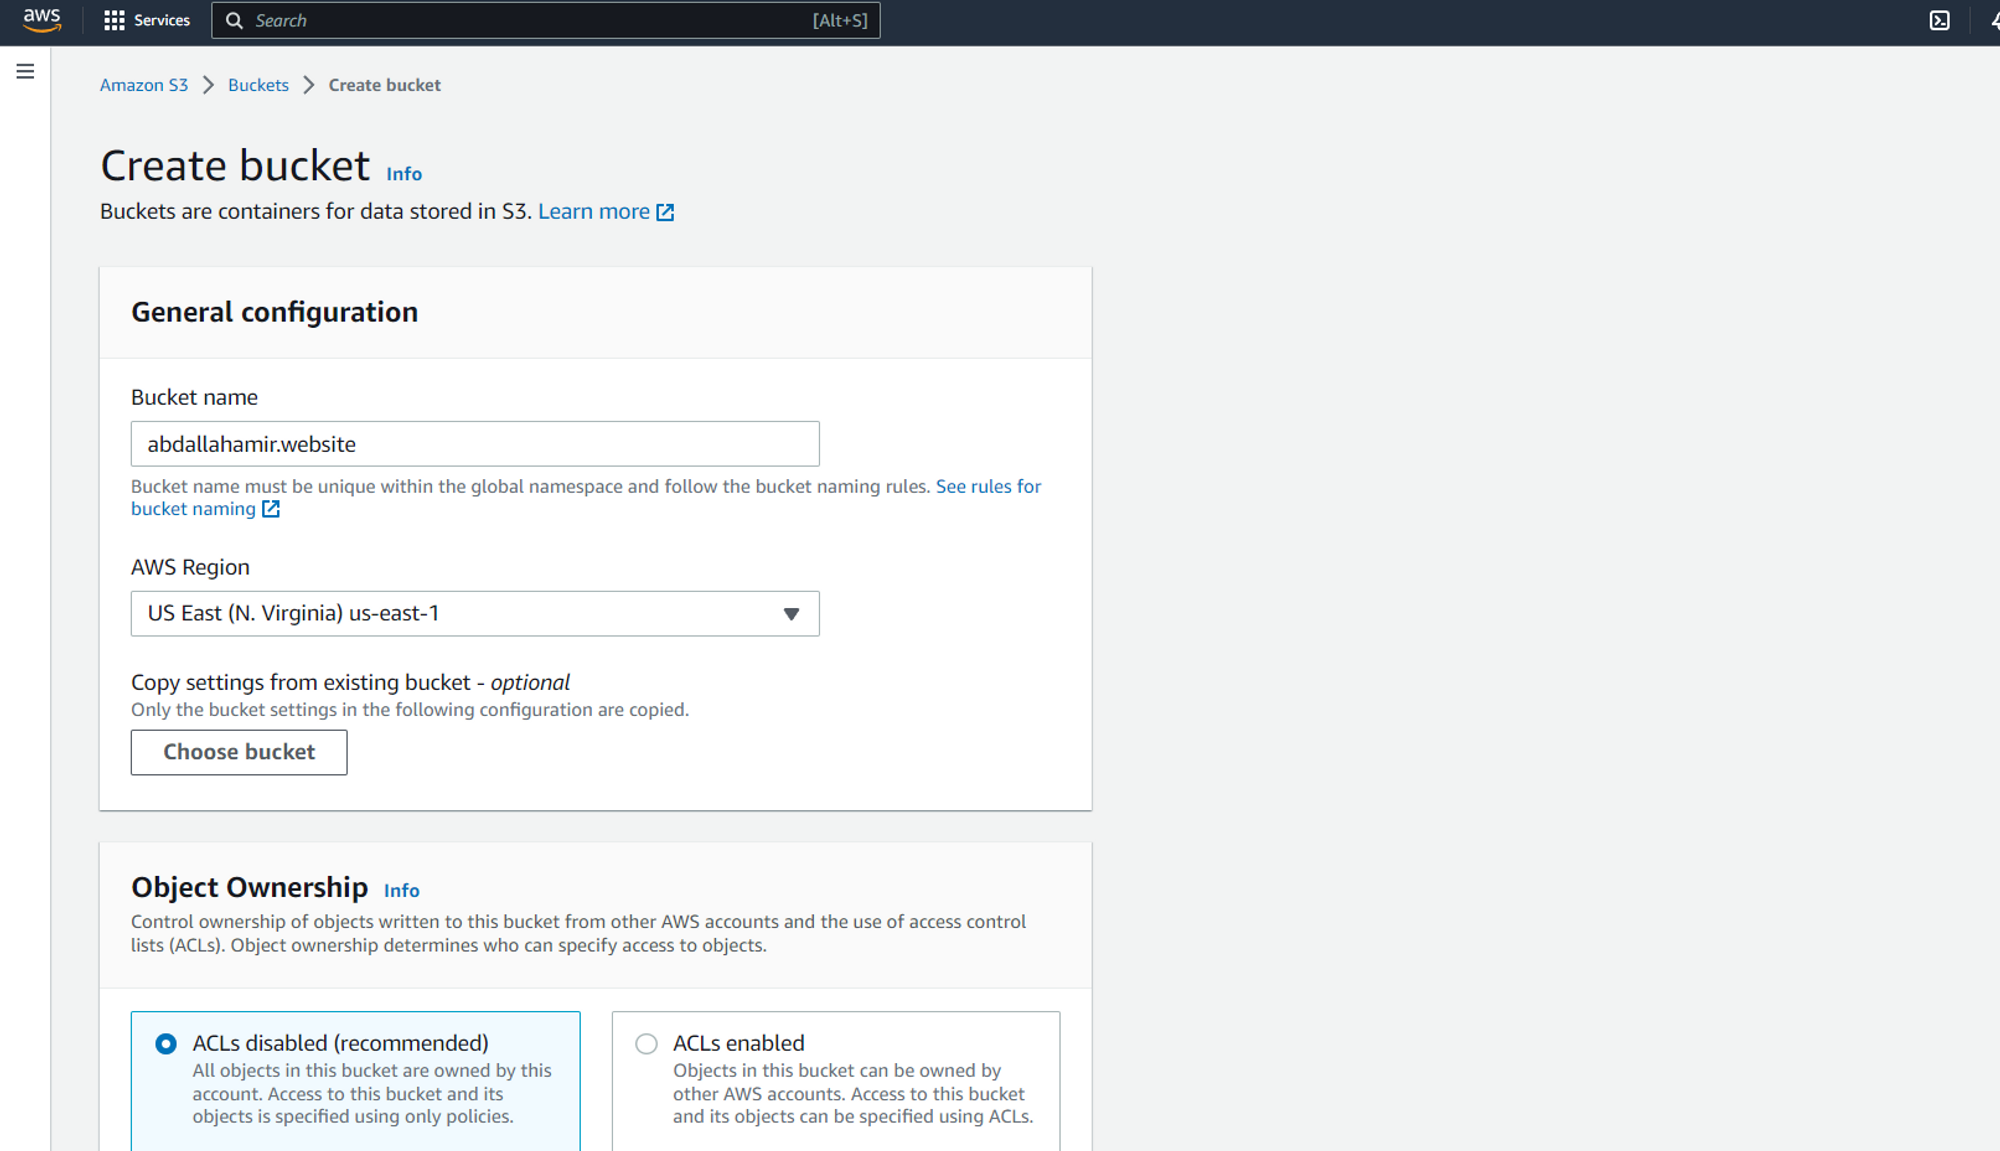
Name the bucket with your domain name. In this case “abdallahamir.website”.
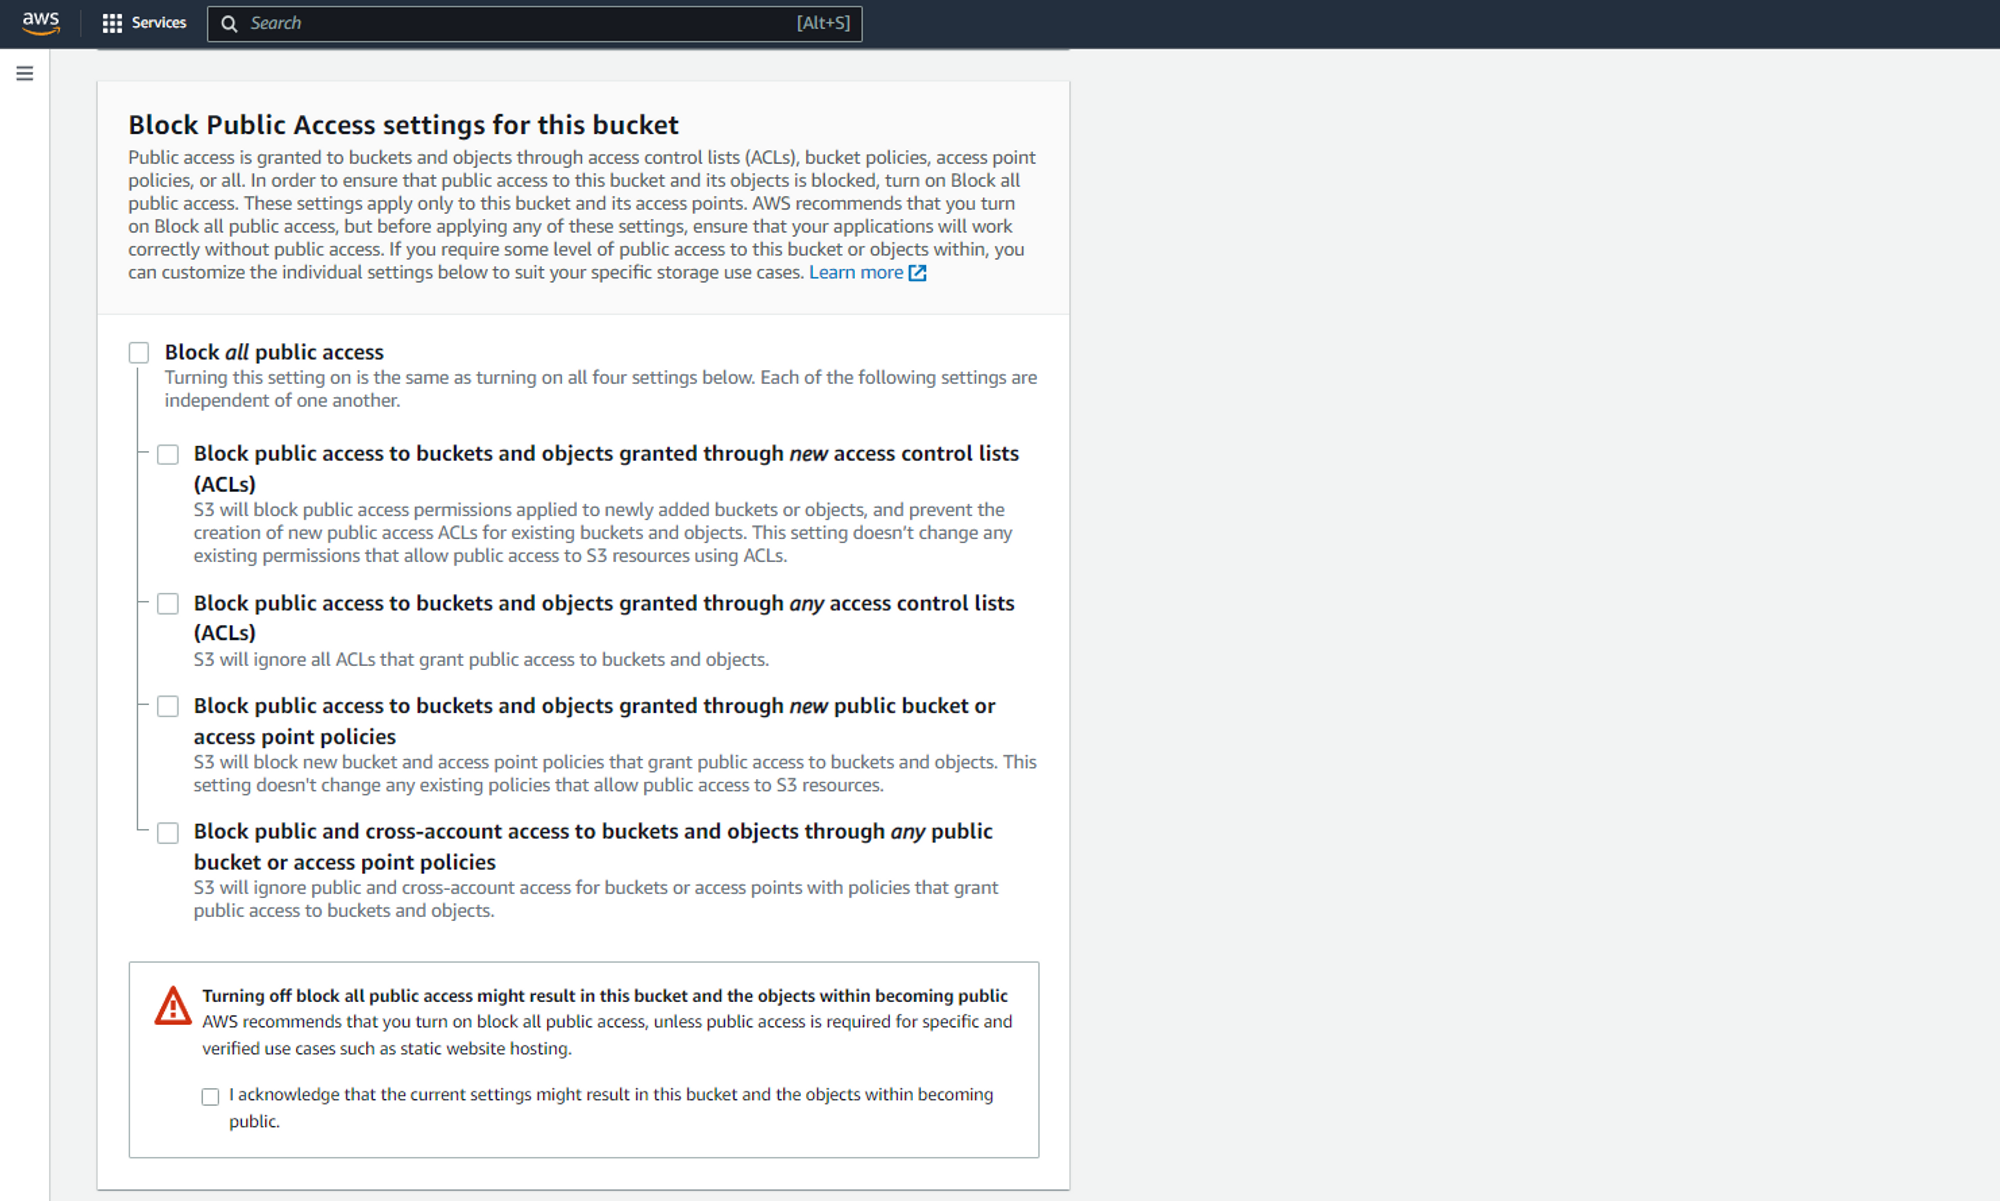
Make sure that the bucket is configured for public access by unchecking “Block all public access”.
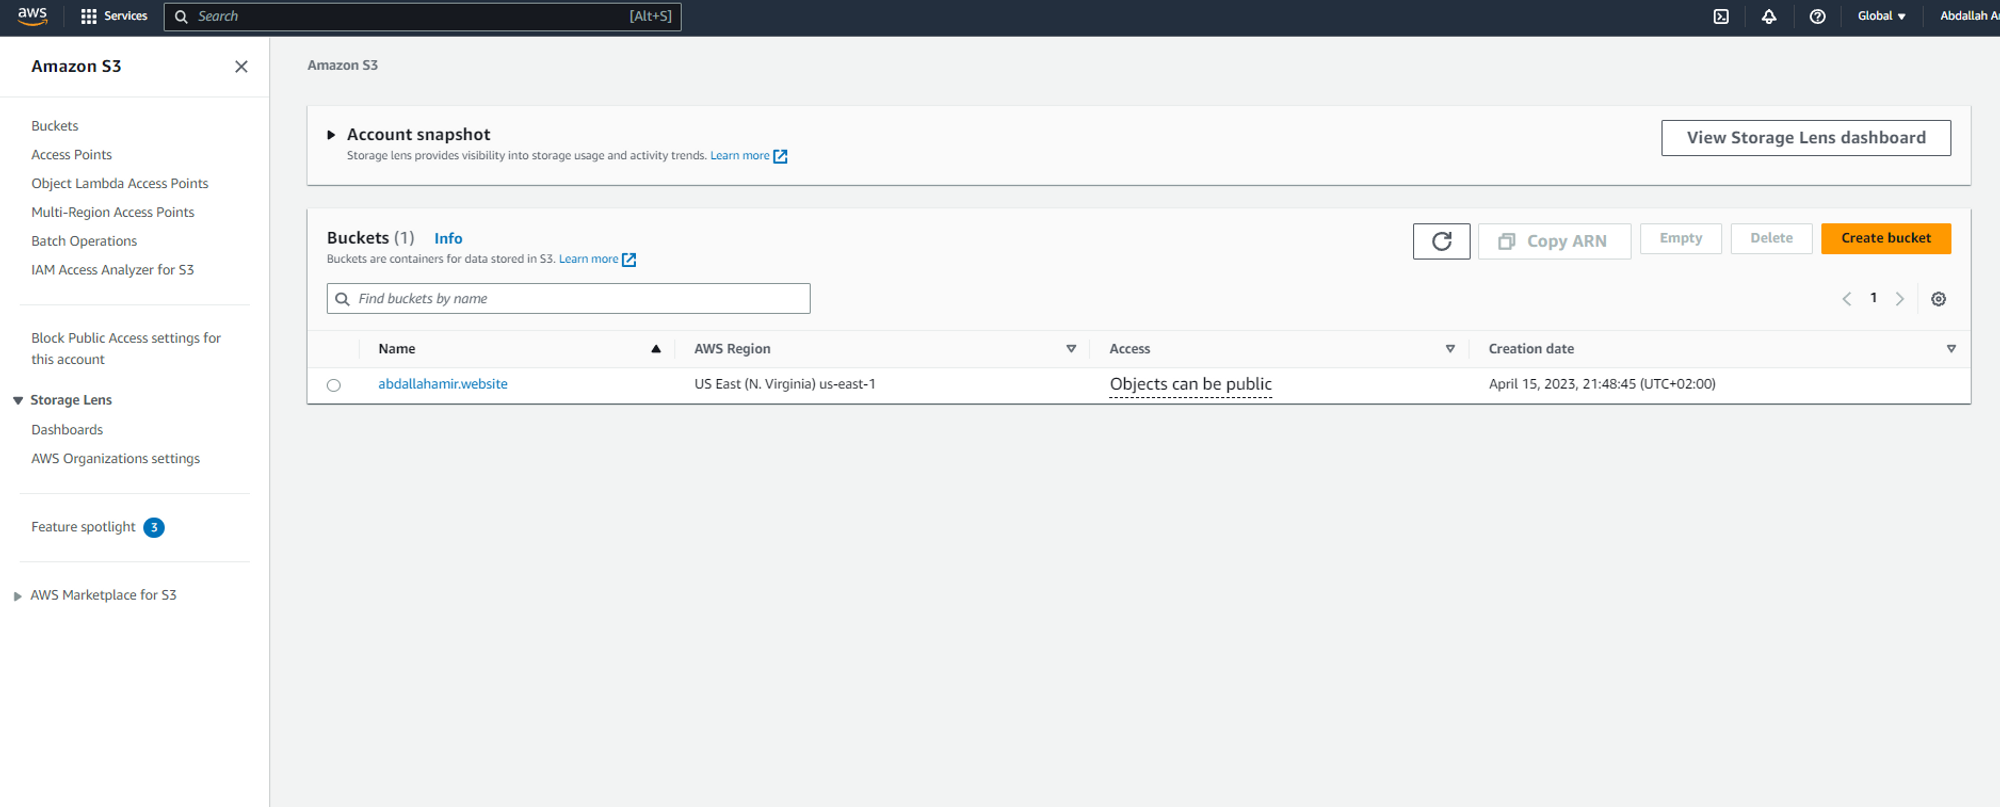
You should see the newly created bucket.
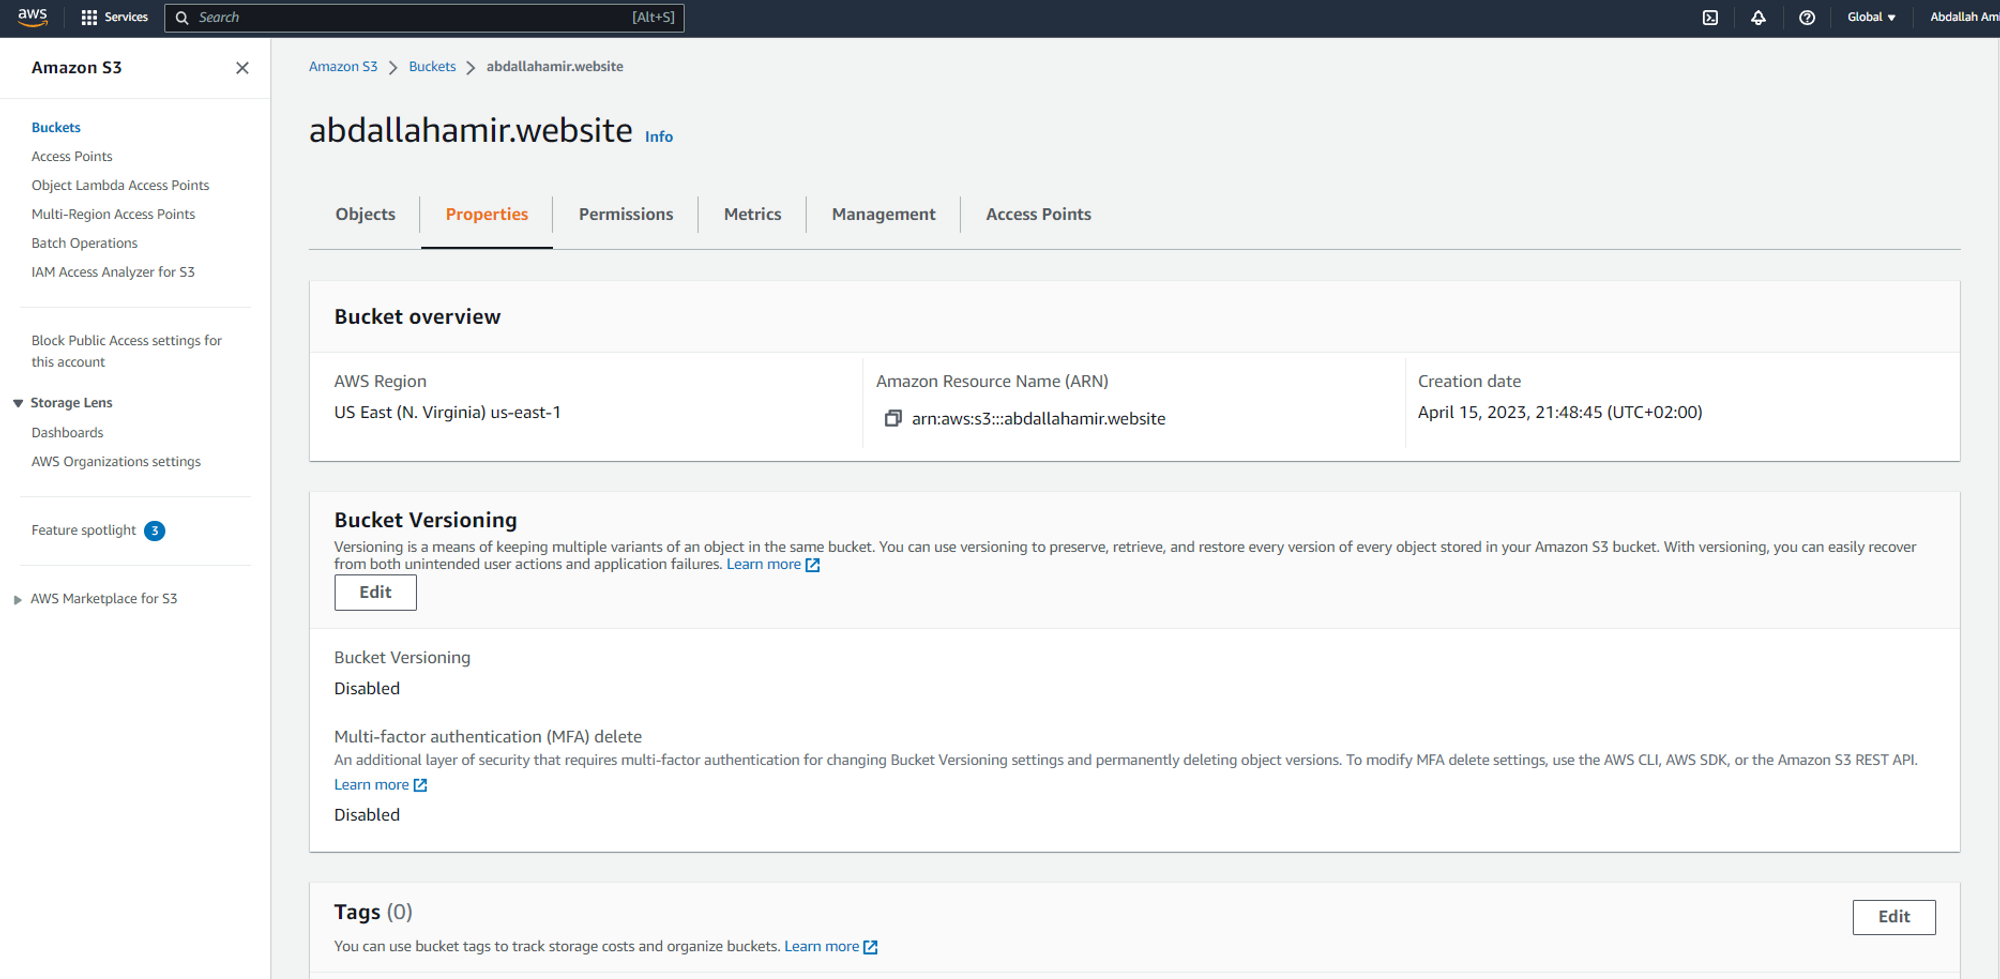
Click on your bucket name.
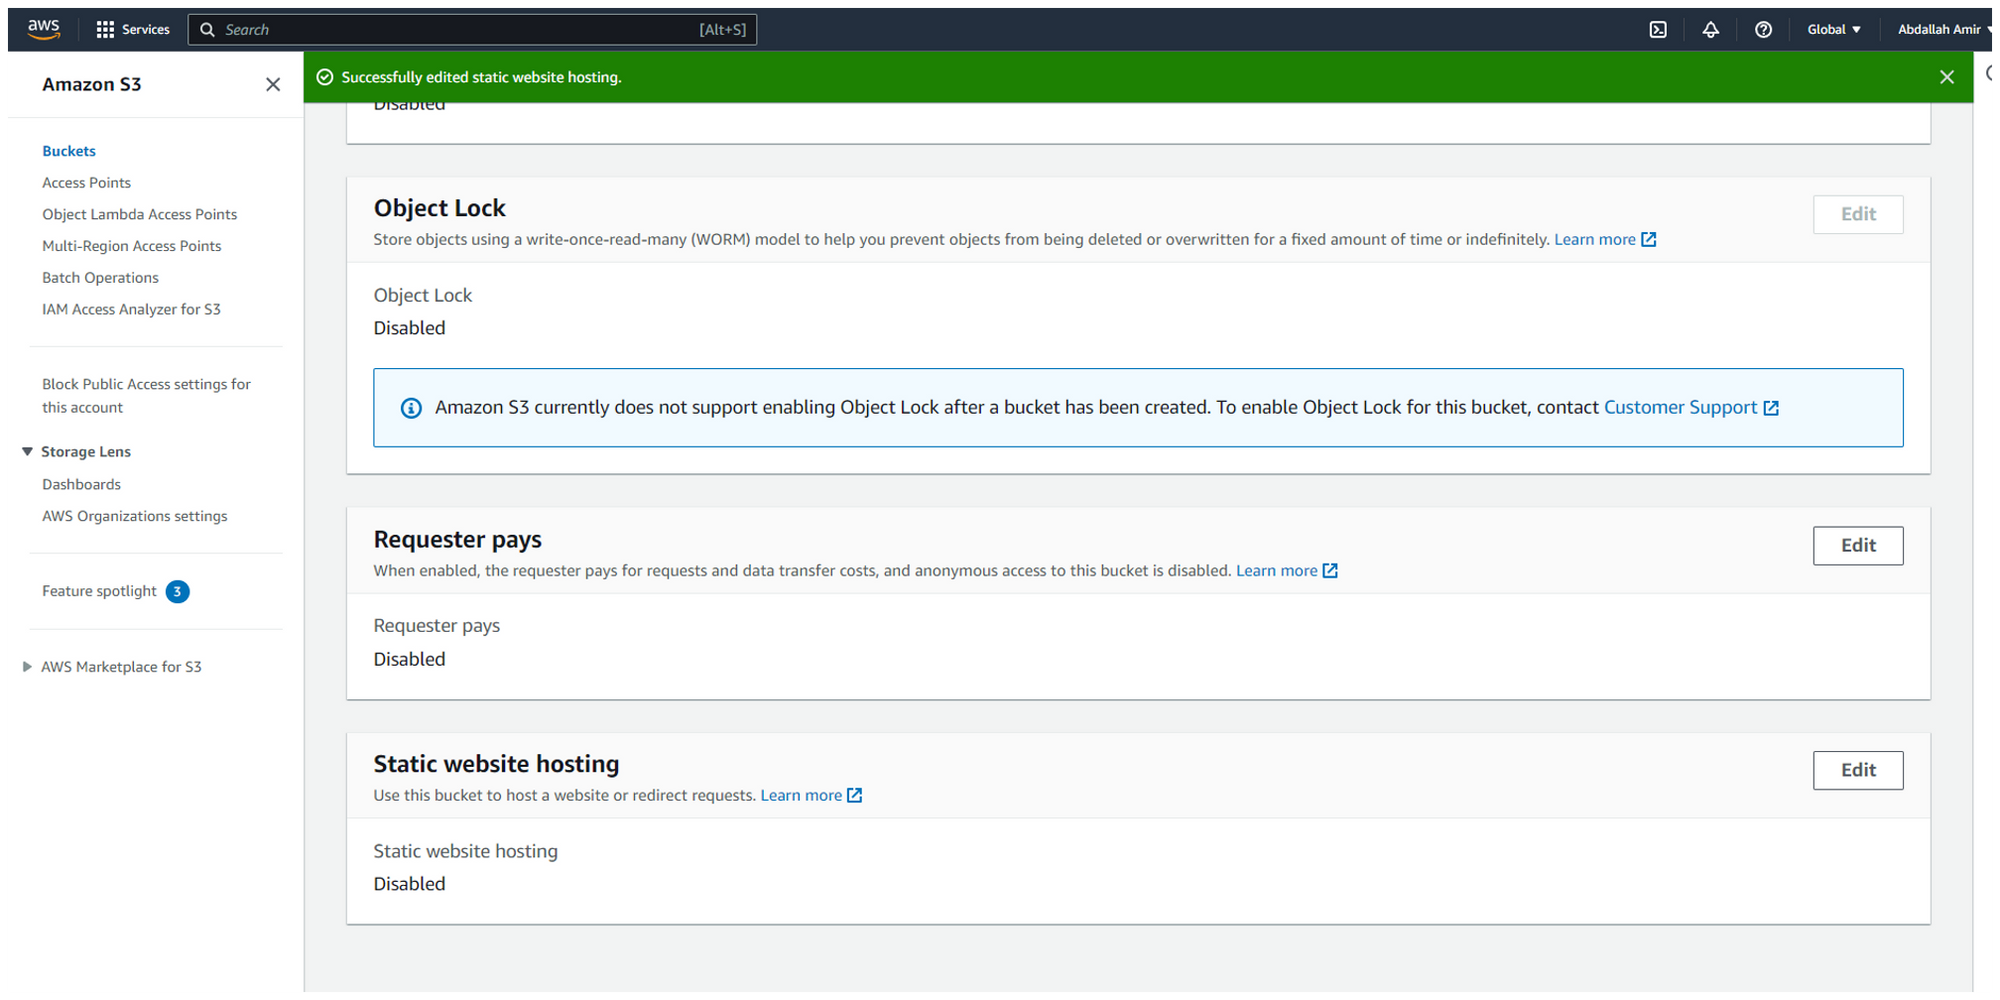
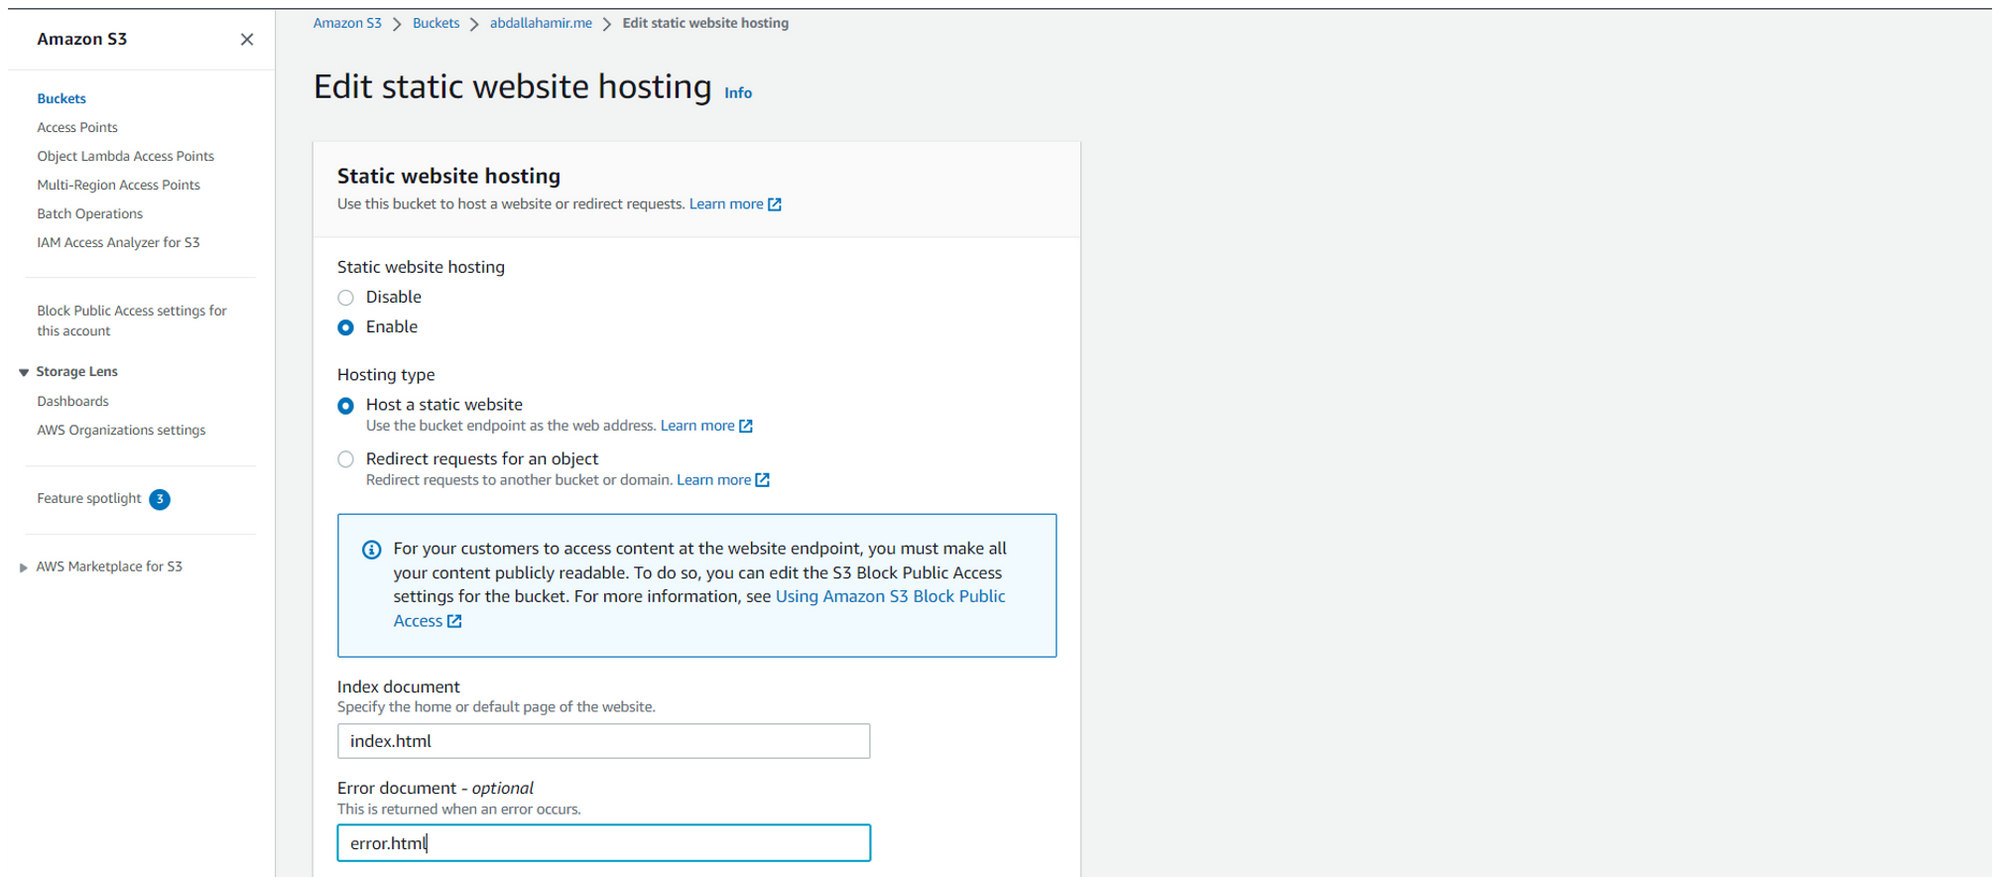
In the properties tab, scroll all the way down to “Static website hosting” and hit “Edit”.
Change “Static website hosting” from Disabled to Enabled.
For index document type “index.html” and for Error document ”error.html”.
Hit “Save Changes”
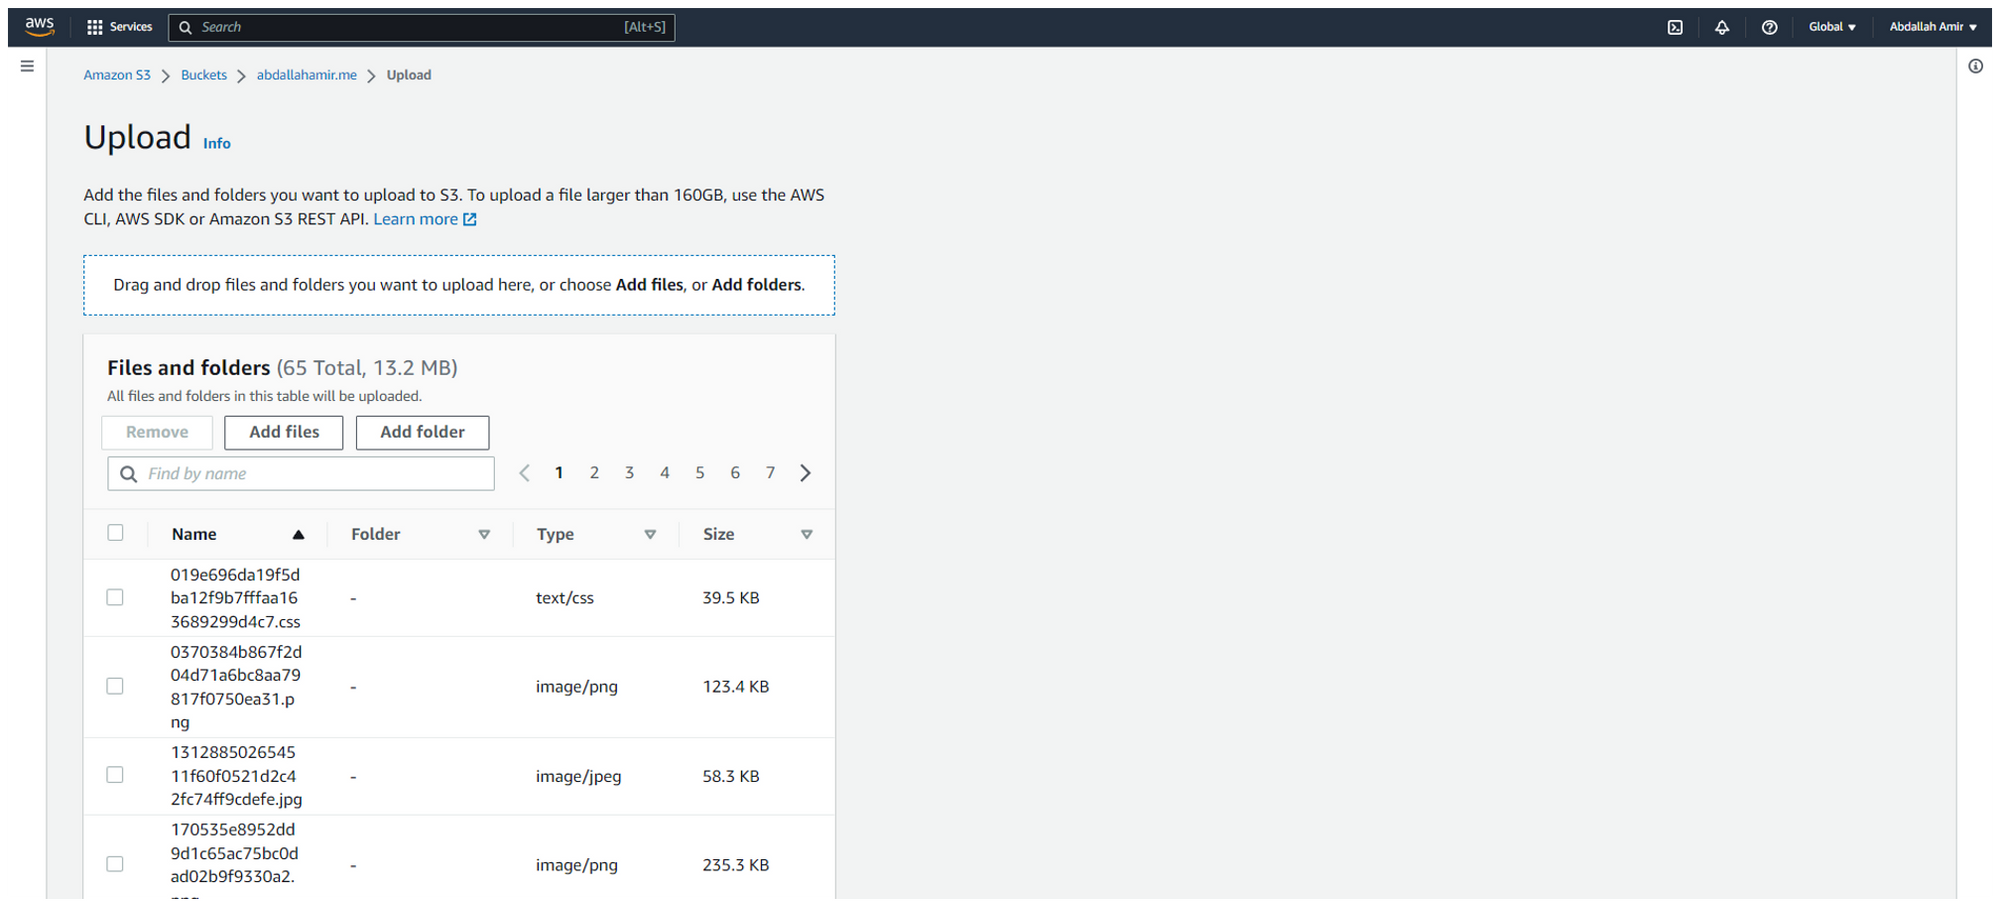
Next, upload your website contents you parsed with loconotion to the bucket.
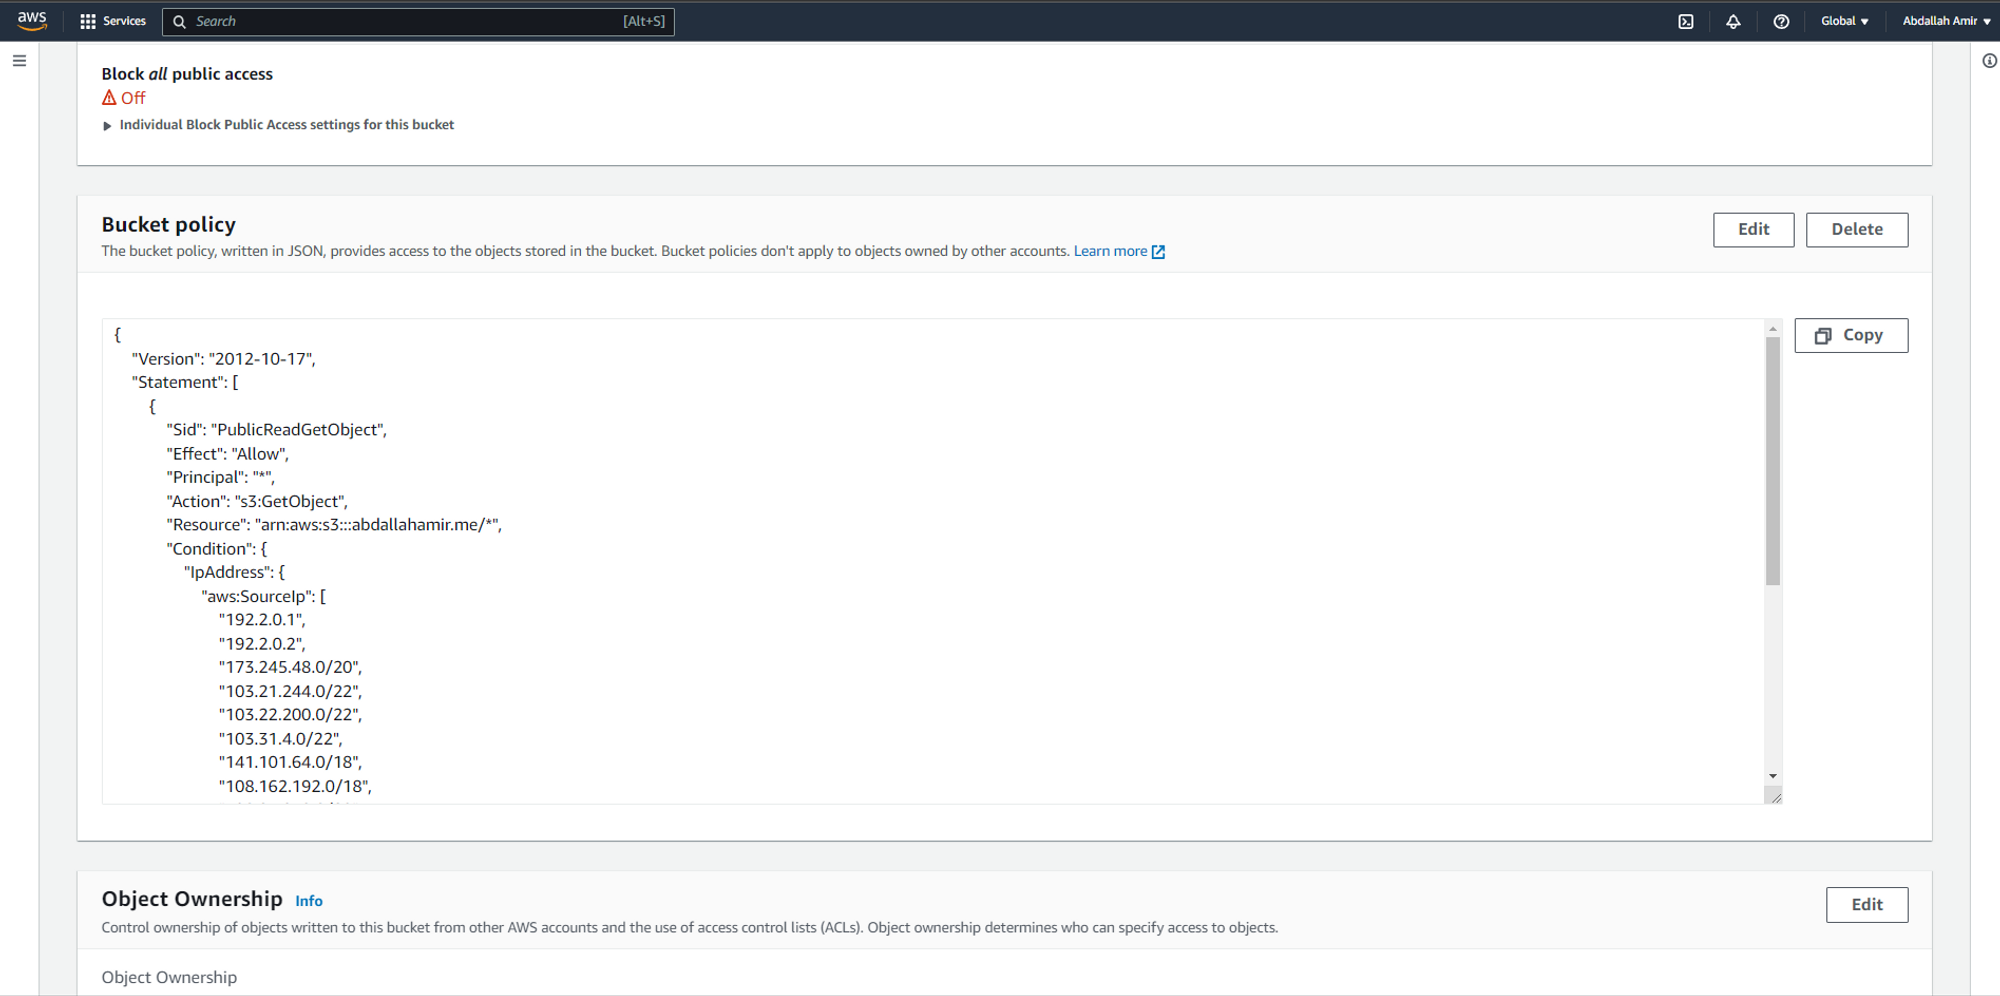
Once done, go over permissions and next to Bucket Policy hit “Edit”.
Your bucket policy should look as follows:
JSON
Copy
{
"Version": "2012-10-17",
"Statement": [
{
"Sid": "PublicReadGetObject",
"Effect": "Allow",
"Principal": "*",
"Action": "s3:GetObject",
"Resource": "arn:aws:s3:::[YOUR-BUCKET-NAME]/*",
"Condition": {
"IpAddress": {
"aws:SourceIp": [
"192.2.0.1",
"192.2.0.2",
"173.245.48.0/20",
"103.21.244.0/22",
"103.22.200.0/22",
"103.31.4.0/22",
"141.101.64.0/18",
"108.162.192.0/18",
"190.93.240.0/20",
"188.114.96.0/20",
"197.234.240.0/22",
"198.41.128.0/17",
"162.158.0.0/15",
"104.16.0.0/13",
"104.24.0.0/14",
"172.64.0.0/13",
"131.0.72.0/22"
]
}
}
}
]
}
This will limit the access through Bucket Policy to allow access only from the traffic coming from Cloudflare infrastructure.
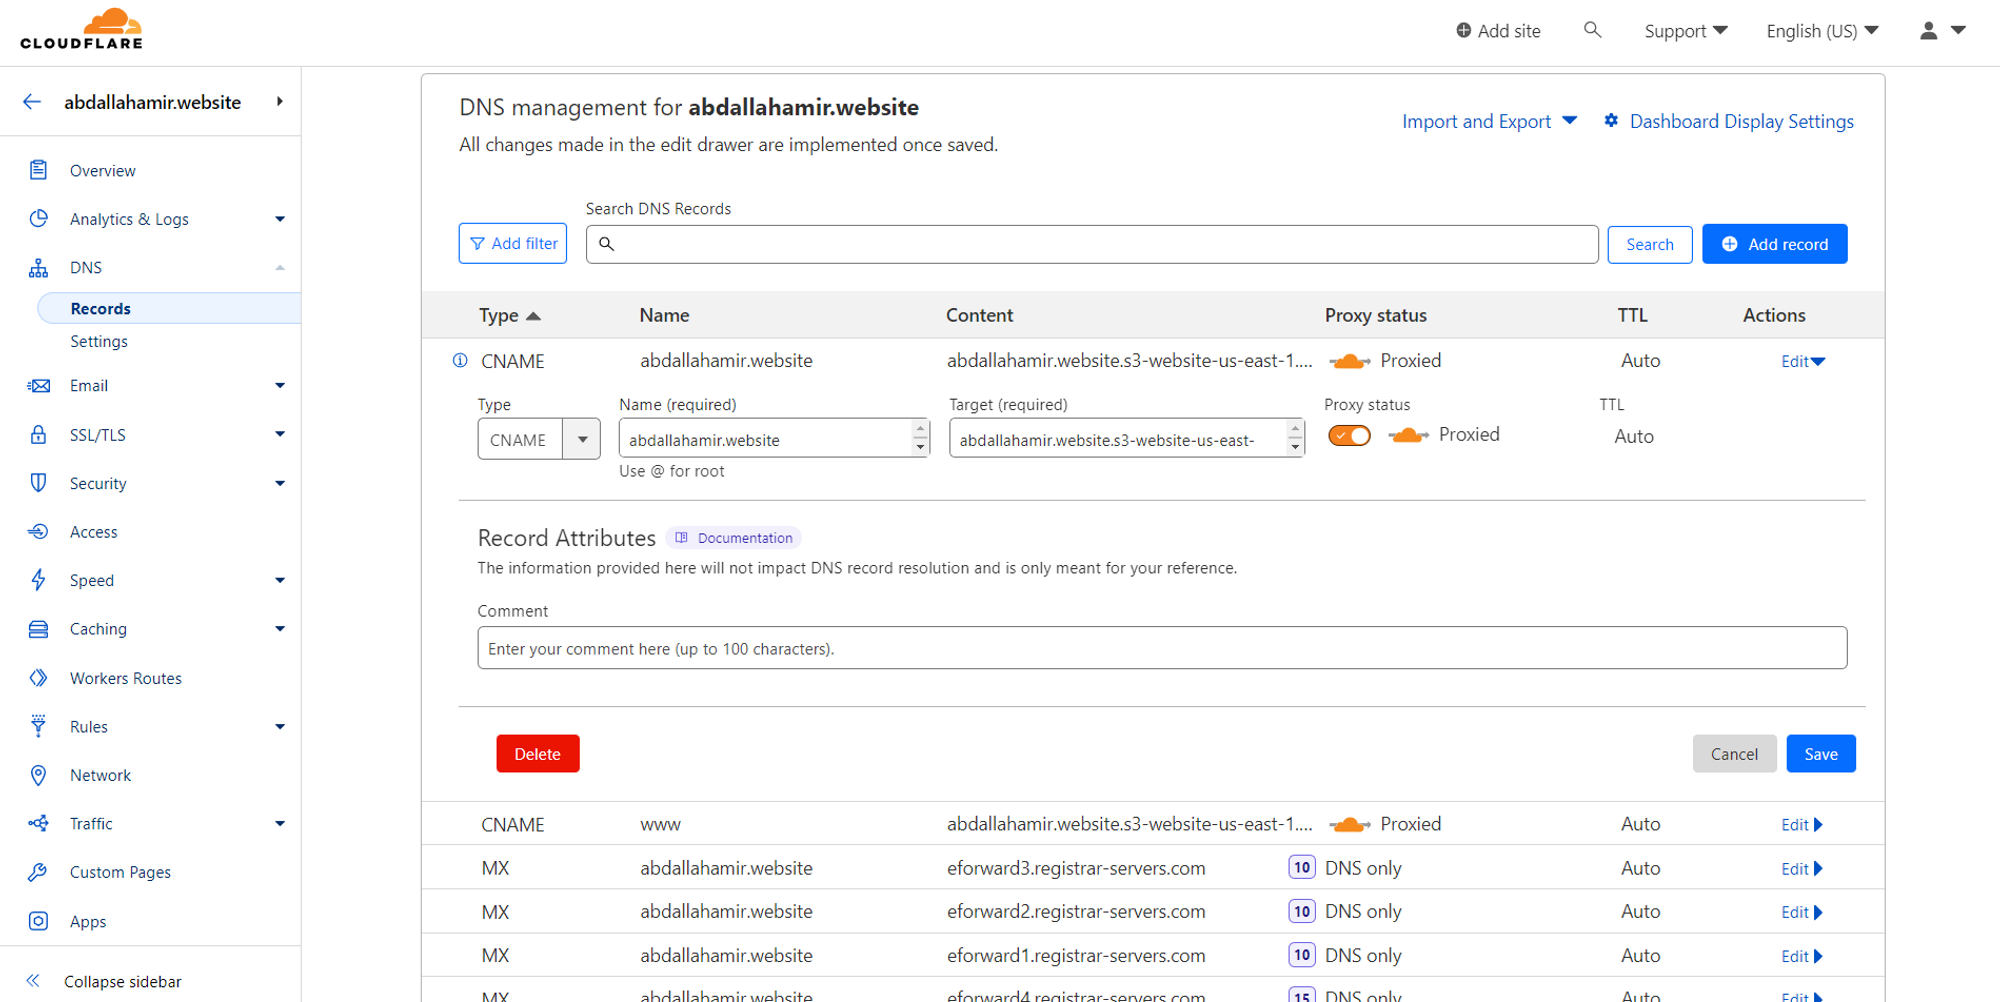
Add a CNAME register on Cloudflare to point to your bucket URL (you can find it in the Static website hosting tab)
Make sure to delete all A records to allow CNAME to be created.
Step 5 - GitHub Actions Automation (optional)
Step 5 - GitHub Actions Automation
Uploading your Notion page files to S3 each time you update the website can become tedious quite fast.
We can make this process easier with the push of a button via GitHub Actions.
AWS
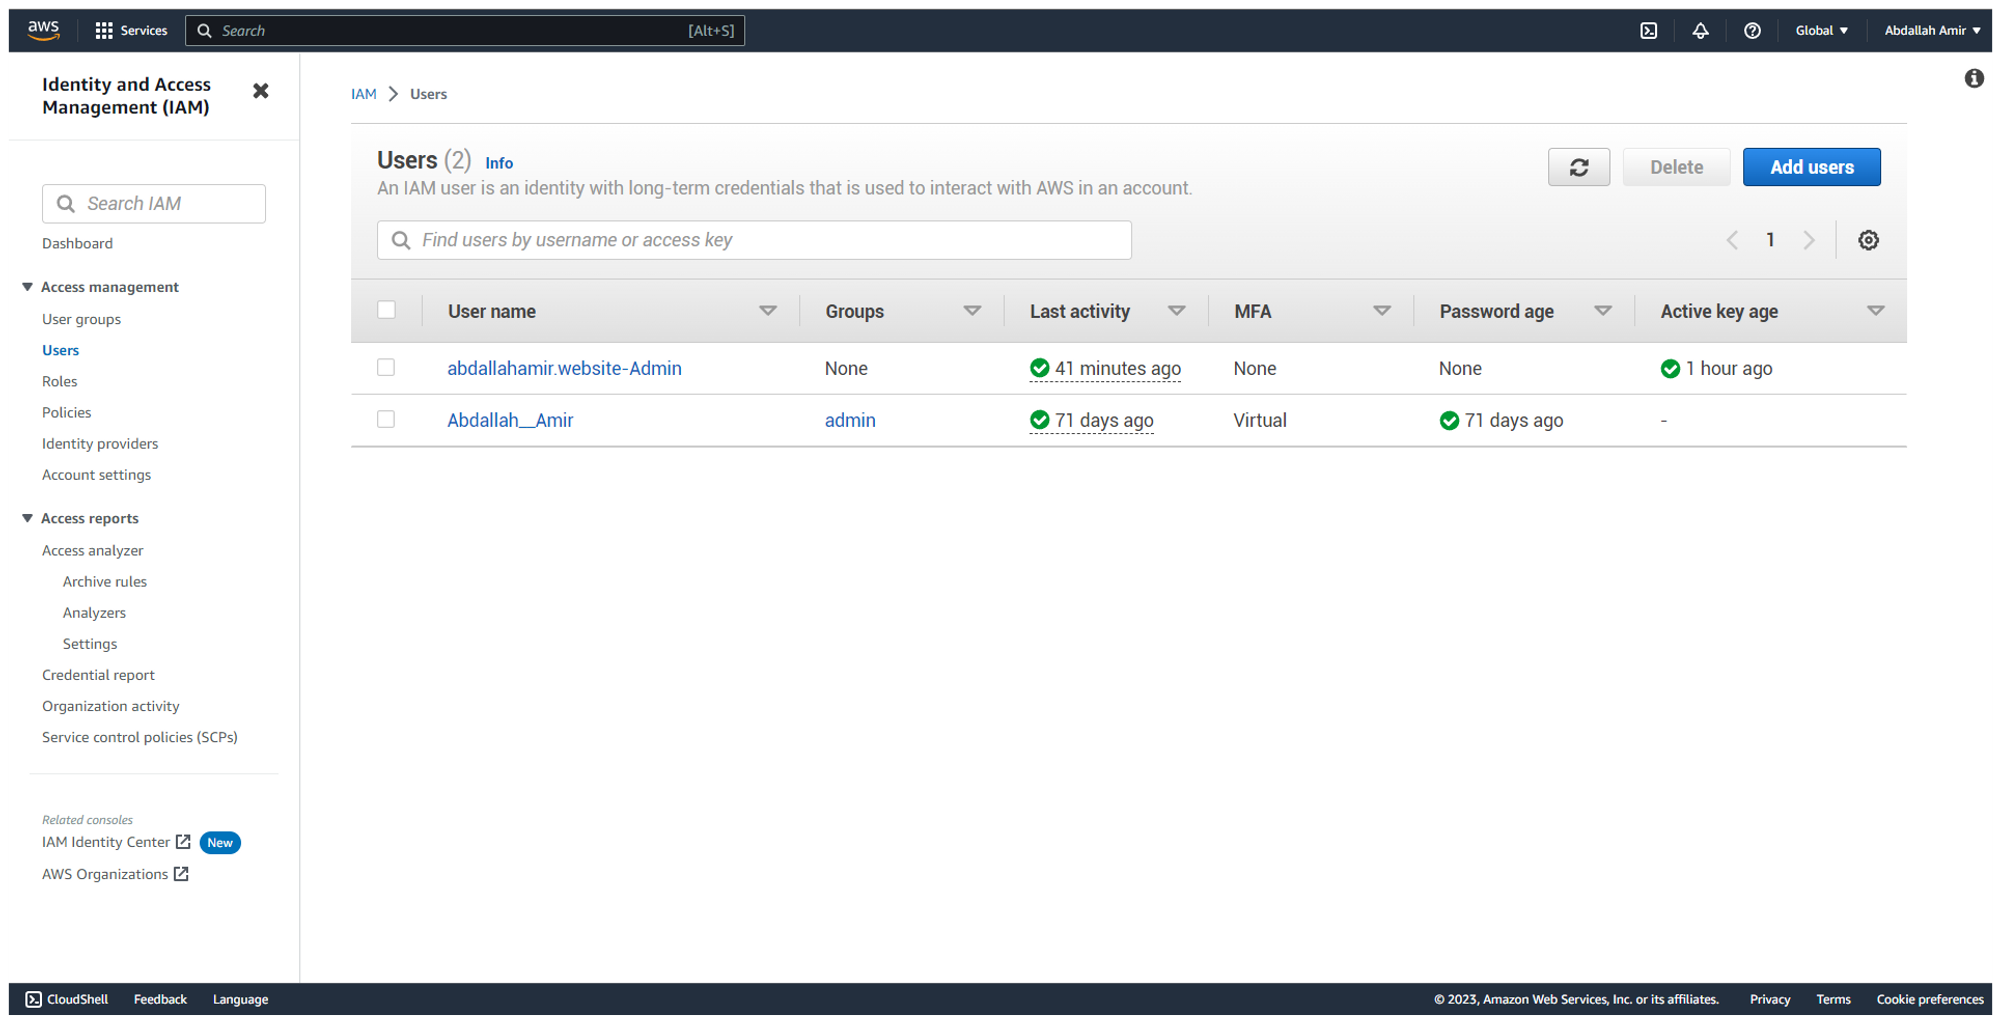
Back at AWS, you’ll want to create a new IAM user with S3 admin privileges then generate the AWS_ACCESS_KEY_ID and AWS_SECRET_ACCESS_KEY.
DON’T SHARE THESE KEYS WITH ANYONE SINCE THEY’RE USED TO DIRECTLY ACCESS YOUR S3 BUCKET.
Cloudflare
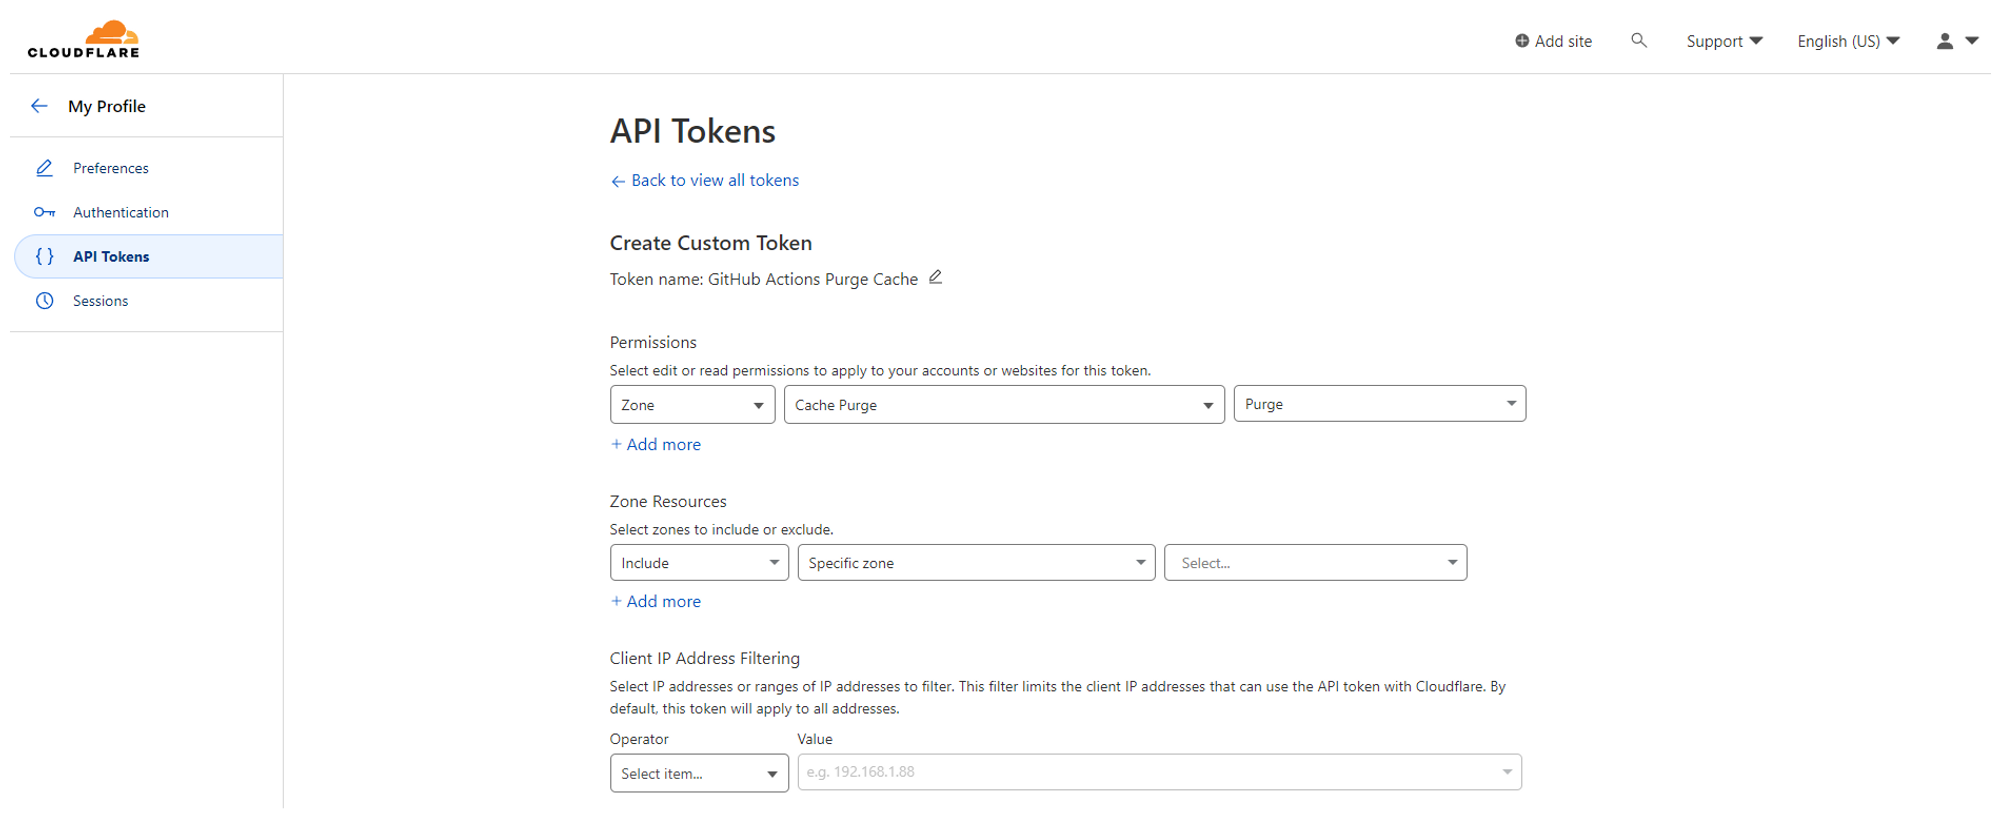
Back in Cloudflare, Generate a CLOUDFLARE_TOKEN ID with Purge Cache permission by clicking “My Profile” in the top right corner, then “API Tokens” then create a “New Token”.
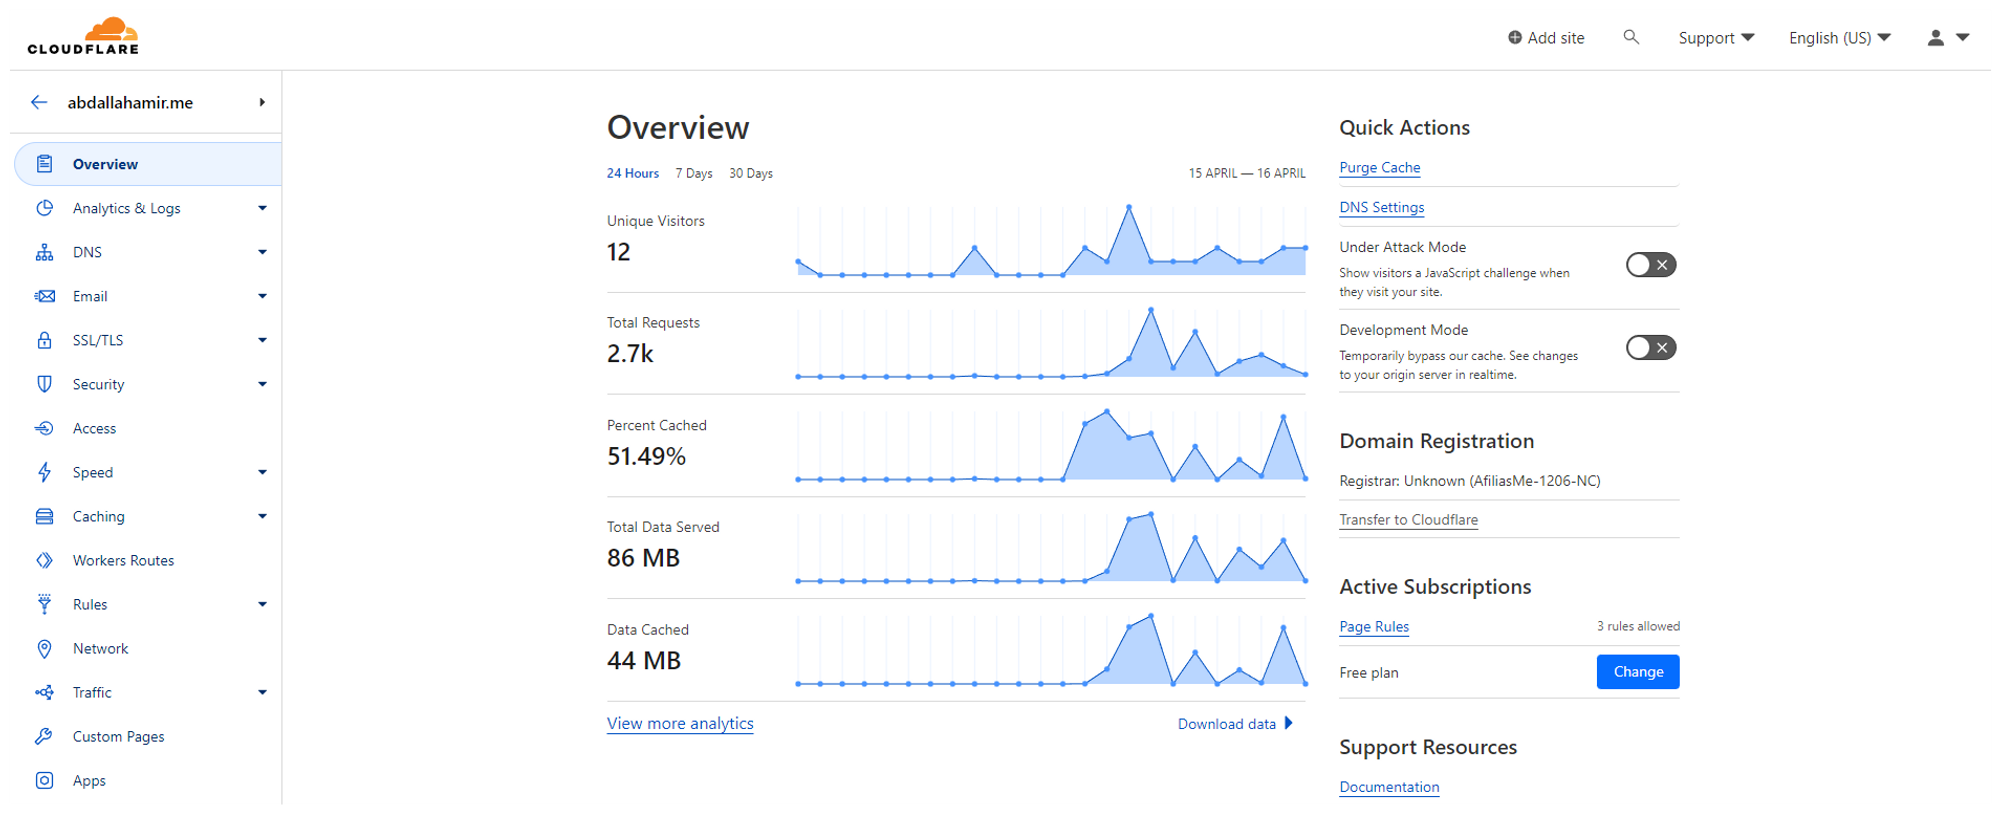
Get your CLOUDFLARE_ZONE ID at your Cloudflare Site Overview Page. You’ll find it right under the API tab under Support Resources.
GitHub
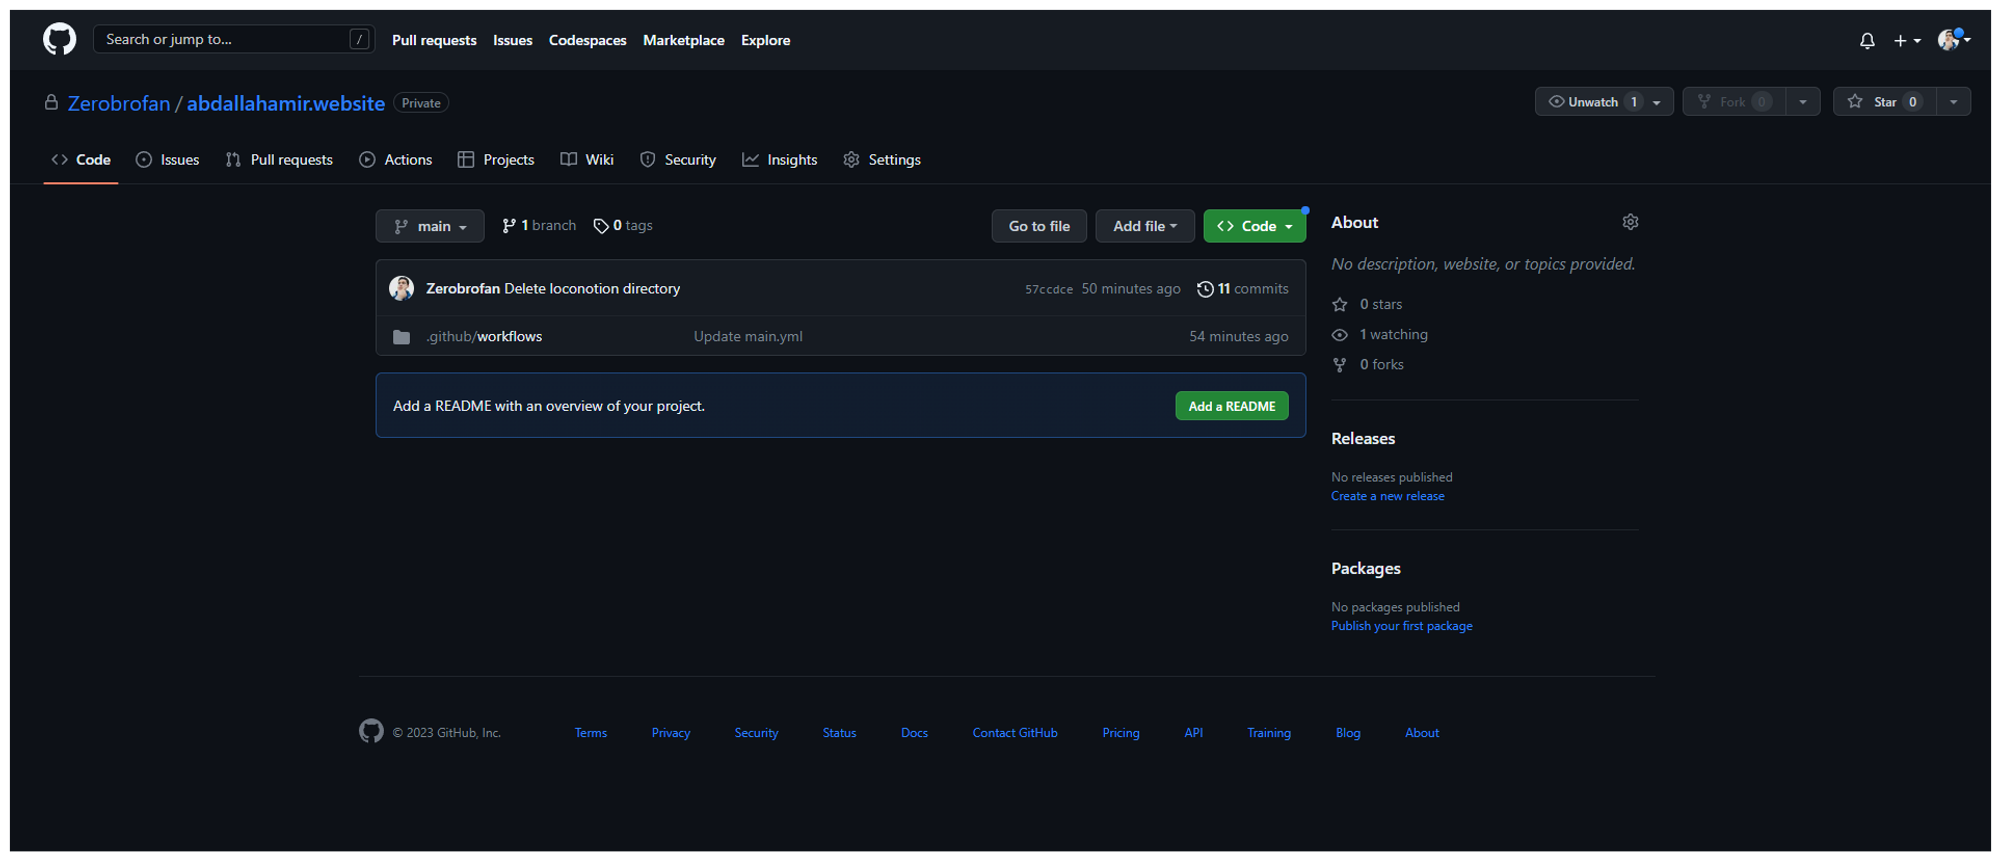
Create a new repository and give it your domain name (for the sake of simplicity, doesn’t really matter what you name it).
Go over to the Actions tab and hit “New Workflow”.
Click the “set up a workflow yourself” highlighted in blue.
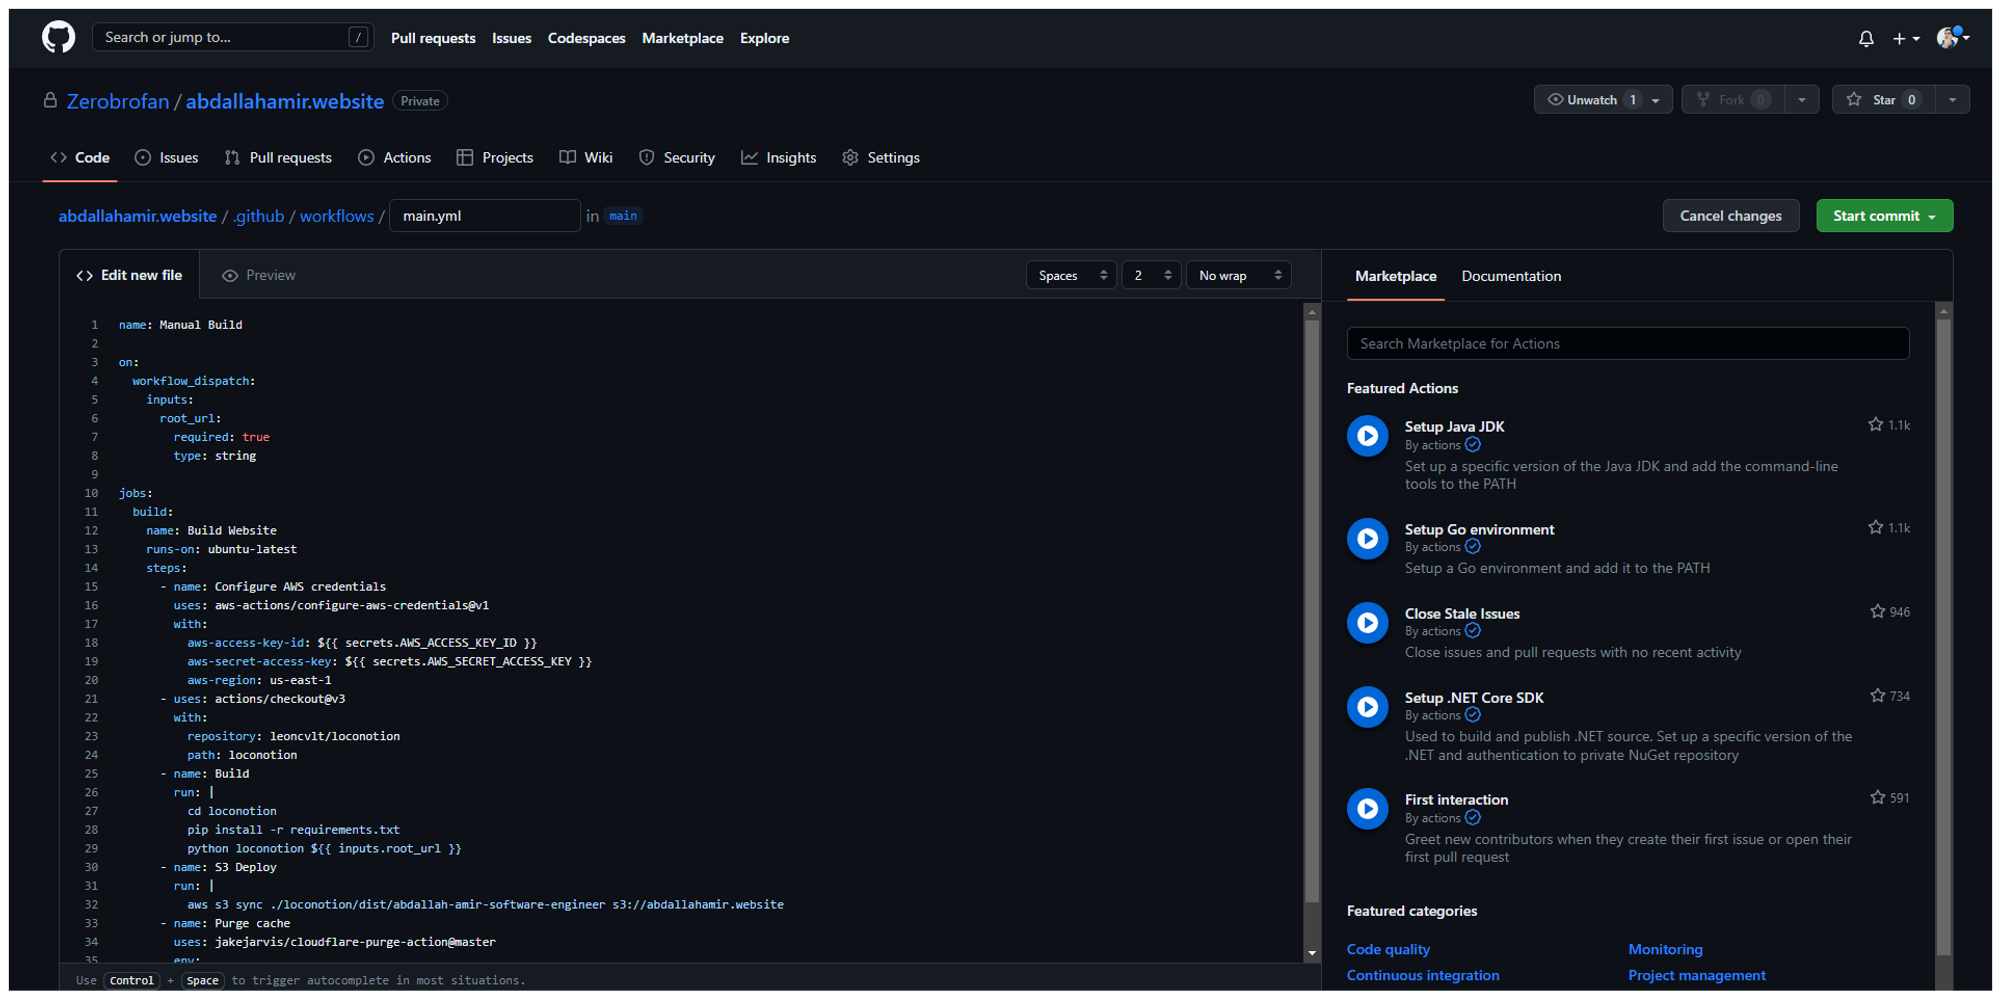
Paste the following pipeline example:
YAML
Copy
name: Manual Build
on:
workflow_dispatch:
inputs:
root_url:
required: true
type: string
jobs:
build:
name: Build Website
runs-on: ubuntu-latest
steps:
- name: Configure AWS credentials
uses: aws-actions/configure-aws-credentials@v1
with:
aws-access-key-id: ${{ secrets.AWS_ACCESS_KEY_ID }}
aws-secret-access-key: ${{ secrets.AWS_SECRET_ACCESS_KEY }}
aws-region: us-east-1
- uses: actions/checkout@v3
with:
repository: leoncvlt/loconotion
path: loconotion
- name: Build
run: |
cd loconotion
pip install -r requirements.txt
python loconotion ${{ inputs.root_url }}
- name: S3 Deploy
run: |
aws s3 sync ./loconotion/dist/abdallah-amir-software-engineer s3://abdallahamir.website
- name: Purge cache
uses: jakejarvis/cloudflare-purge-action@master
env:
CLOUDFLARE_ZONE: ${{ secrets.CLOUDFLARE_ZONE }}
CLOUDFLARE_TOKEN: ${{ secrets.CLOUDFLARE_TOKEN }}
In line 32: aws s3 sync ./loconotion/dist/abdallah-amir-software-engineer s3://abdallahamir.website
Change abdallah-amir-software-engineer to your websites name when parsed.
Change s3://abdallahamir.website to match your S3 bucket name.
Then hit “commit”.
Next, hover over to the settings tab.
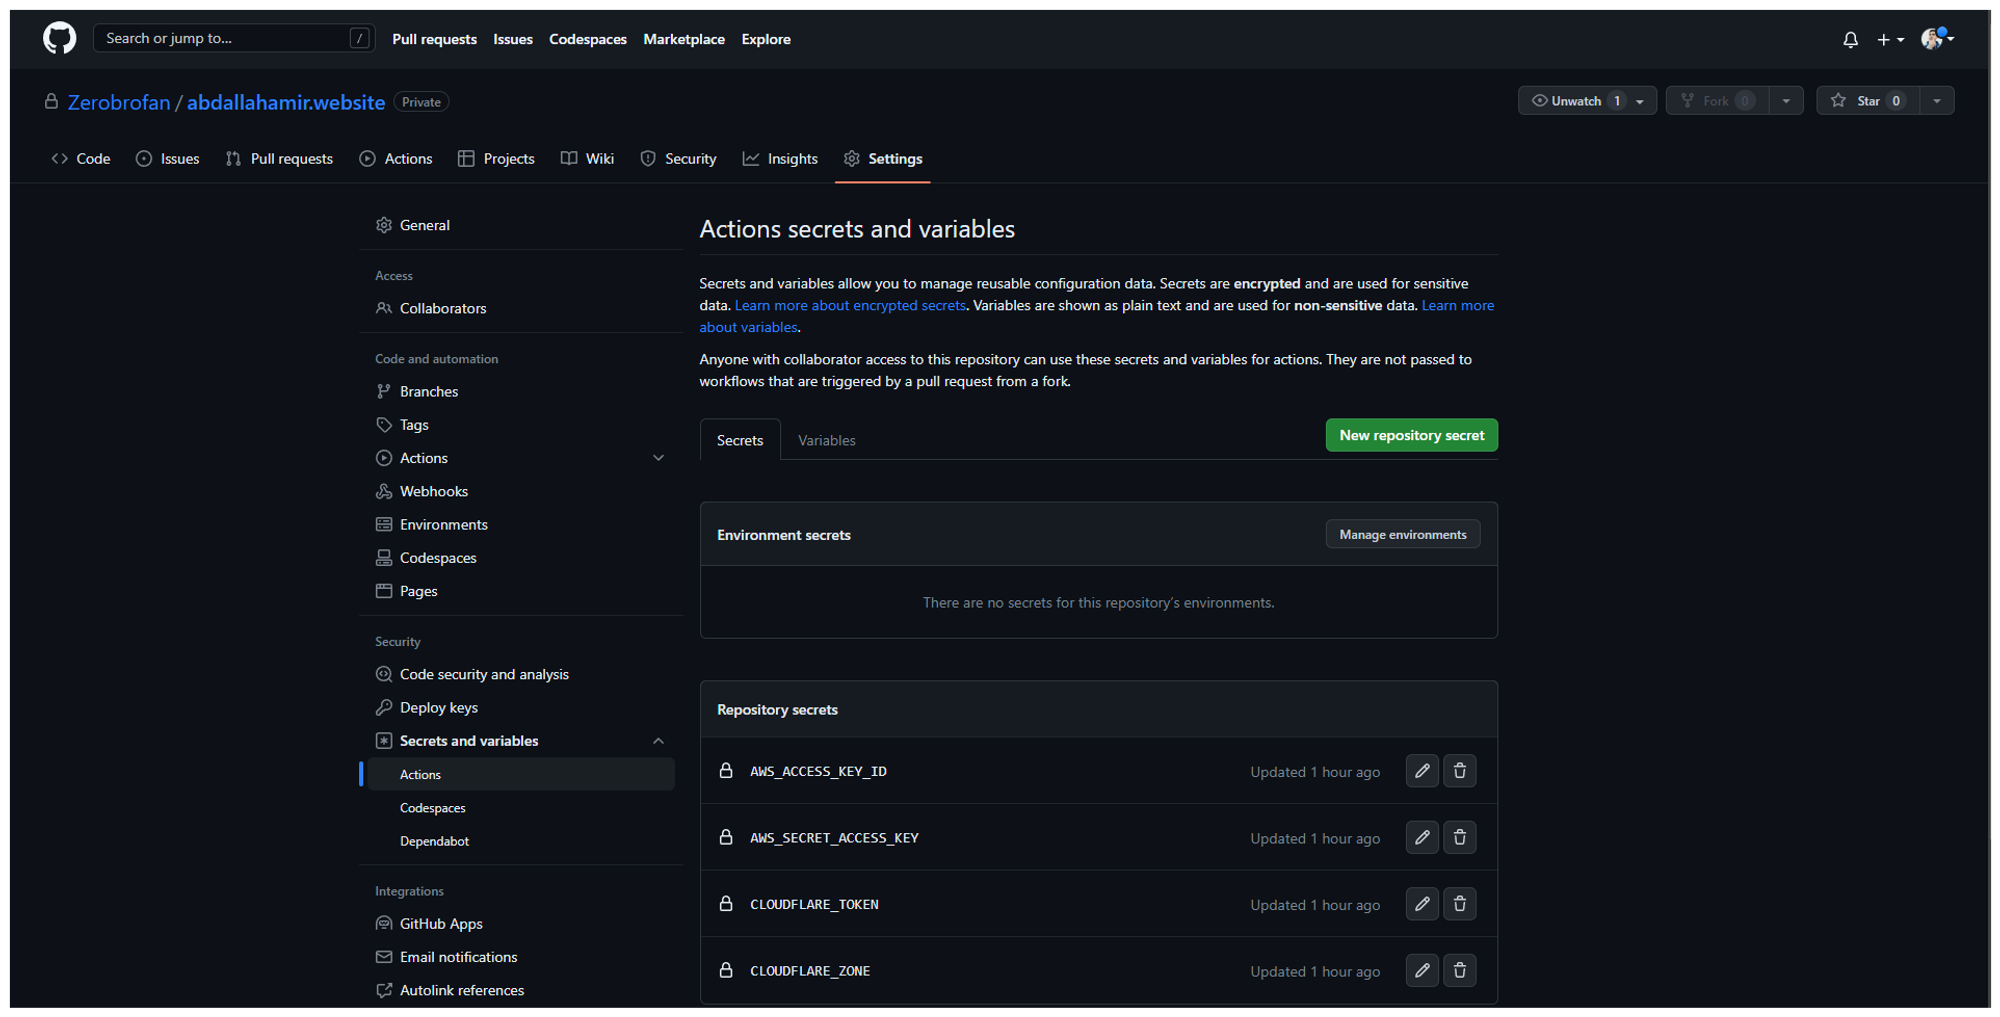
In the Security section, navigate to “Secrets & Variables” and select “Actions”.
Create the following new repository secrets:
“AWS_ACCESS_KEY_ID”: your IAM user’s access key.
“AWS_SECRET_ACCESS_KEY”: your IAM user’s secret access key.
“CLOUDFLARE_ZONE”: your Cloudflare zone ID.
“CLOUDFLARE_TOKEN”: your Cloudflare API token ID.
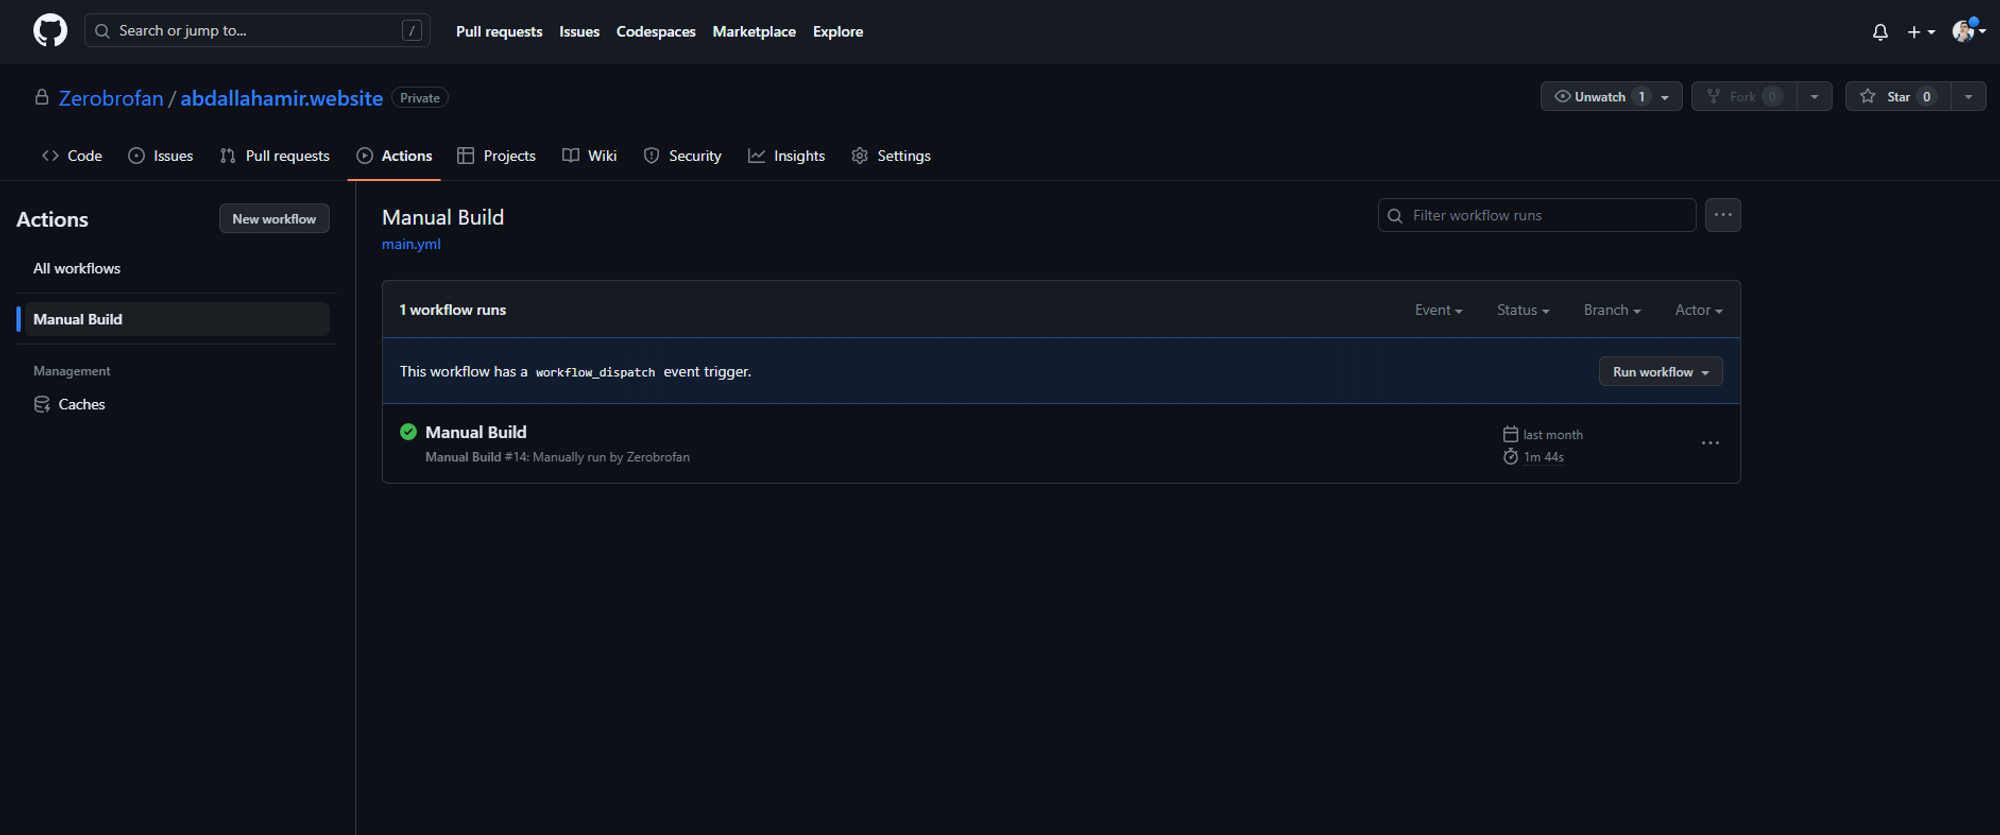
Once done go to Actions, choose “Manual Build” and hit “Run Workflow”.
It should ask you for the “root-url” which is the public URL of your notion page.
And voila  ! You’ve just successfully deployed your notion website on AWS S3 accompanied with a custom domain and an automated GitHub actions workflow
  .
.

